
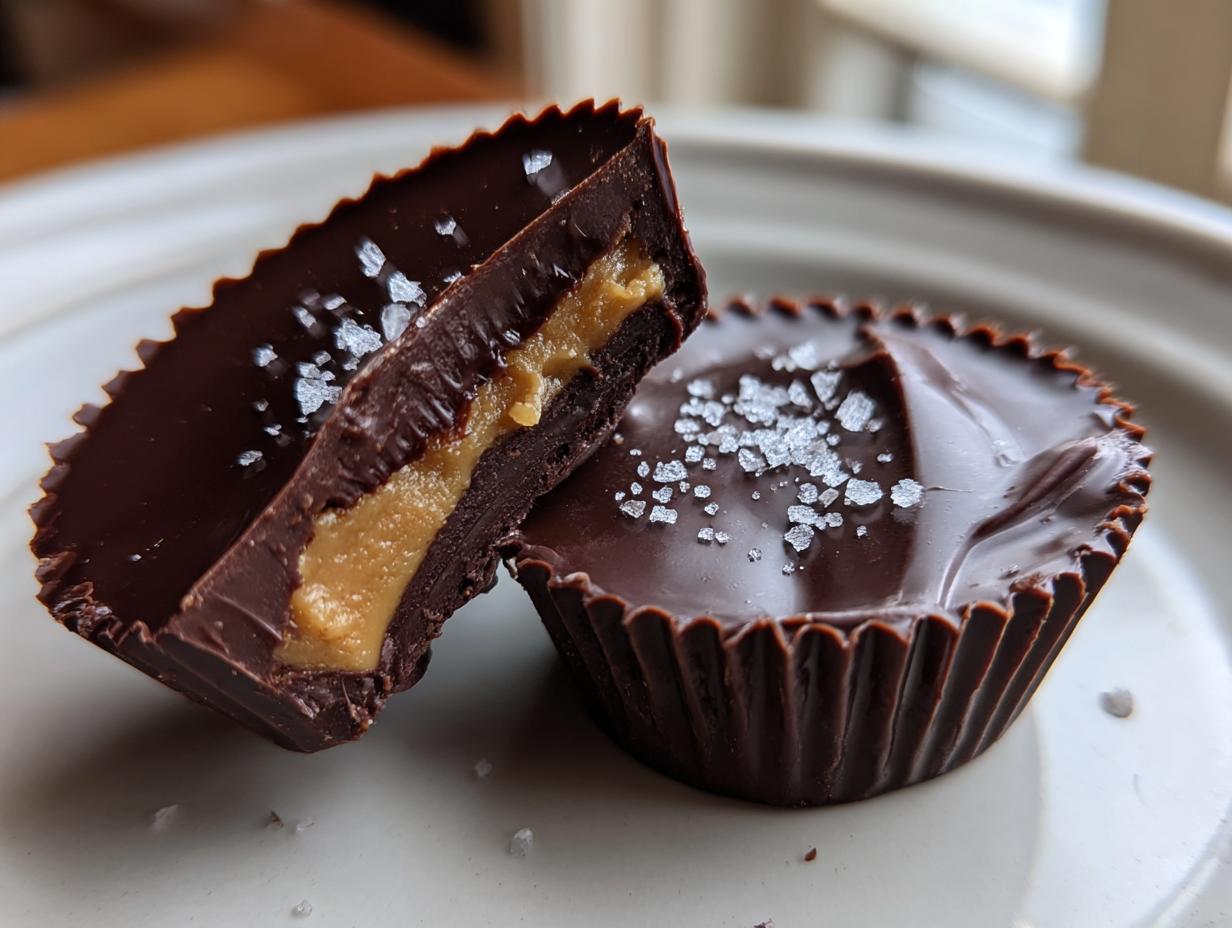
If you’re like me, today—I Love Reese’s Day—is a major excuse to eat chocolate and peanut butter! But why settle for the standard fare when we can do better? I’m talking about leveling up those classic cups into something truly gourmet. We’re embracing a bit of artisanal candy making style here. Forget the overly sweet milk chocolate; we are diving deep into rich, 70% dark chocolate finished with a whisper of flaky sea salt. This move fits perfectly with Elena’s philosophy: take simple, good ingredients and skip the fuss, making something extraordinary. Trust me, once you master these homemade peanut butter cups, you won’t look back.
- Why You Will Love These Homemade Peanut Butter Cups
- Ingredients for Artisanal Homemade Peanut Butter Cups
- The Simple Steps to Perfect Homemade Peanut Butter Cups
- Tips for Artisanal Candy Making Success with Homemade Peanut Butter Cups
- Making Homemade Peanut Butter Cups for I Love Reese's Day Ideas
- Storage and Reheating Instructions for Homemade Peanut Butter Cups
- Common Questions About Dark Chocolate Reese's Copycat Recipes
- Estimating the Nutrition in Your Homemade Peanut Butter Cups
- Share Your Artisanal Candy Making Creations
Why You Will Love These Homemade Peanut Butter Cups
Honestly, these aren’t just candy; they are an experience. Every component is thoughtfully chosen to make them feel special, even though they are so incredibly quick to pull together. You don’t need hours of complicated steps to achieve amazing peanut butter chocolate aesthetics!
- Gourmet Dark Chocolate: We’re swapping out the standard for deep, slightly bitter dark chocolate. It balances that sweet peanut butter filling perfectly.
- That Sea Salt Finish: This is the game-changer! Sprinkle a tiny bit of flaky sea salt on top right before it sets. It makes the chocolate flavor pop.
- The ‘Grandma Core’ Vibe: Everything homemade just feels better, right? These cups look rustic, luxurious, and totally satisfying—like something Nona would secretly make on the sly.
- Assembly is a Breeze: Seriously, the hardest part is waiting for them to chill. You line the tins, mix the filling, melt the chocolate, layer, and done. Super easy.
- Real Flavor Wins: Store-bought treats rely on stabilizers and odd fillers. We use actual butter and good peanut butter. The flavor difference you notice is huge!
Ingredients for Artisanal Homemade Peanut Butter Cups
We keep the ingredient list short because when you use quality stuff, you don’t need much else! The filling is ridiculously simple. For the chocolate, please, don’t skimp here; use a good quality dark chocolate between 60% and 70% cacao. That’s where that gorgeous, slightly sophisticated flavor comes from. Remember, we are aiming for that homemade peanut butter cups upgrade!
- 1 cup creamy peanut butter
- 1/2 cup unsalted butter, softened
- 1/4 cup powdered sugar
- 1/2 teaspoon vanilla extract
- 1/4 teaspoon fine sea salt, plus more for topping
- 12 ounces dark chocolate (60-70% cacao), chopped
- 1 tablespoon coconut oil (optional, for smoother melting)
The Simple Steps to Perfect Homemade Peanut Butter Cups
This is where our easy homemade peanut butter cups come together, and honestly, it feels like cheating how good they turn out. The whole process is about quick setting times so we build layers that stay put. You’ll want a mini muffin tin ready to go with those little paper liners nestled perfectly inside. No sticking worries here! Making this batch is honestly less messy than even my favorite chocolate recipe.
Preparing the Cups and Peanut Butter Filling for Homemade Peanut Butter Cups
First up is the filling. Grab your bowl and mix everything until it’s completely velvety smooth. Make sure that butter is actually softened—not melted! If it’s too cool, the sugar won’t incorporate right, and you’ll end up with a slightly lumpy filling. Trust me, smooth filling means a happy finish. Once it’s mixed, set this aside while you deal with the chocolate.
Melting the Dark Chocolate Base for Your Homemade Peanut Butter Cups
For this dark chocolate reese’s copycat, melting the chocolate smoothly is key to that artisanal candy making look. I prefer the microwave—30 seconds at a time, stirring hard in between. If you add that tiny bit of coconut oil, it helps it stay glossy and pourable, which is wonderful. If you don’t have a microwave safe bowl, a double boiler works great, just keep the water below the bowl!
Layering and Finishing Your Easy Homemade Peanut Butter Cups
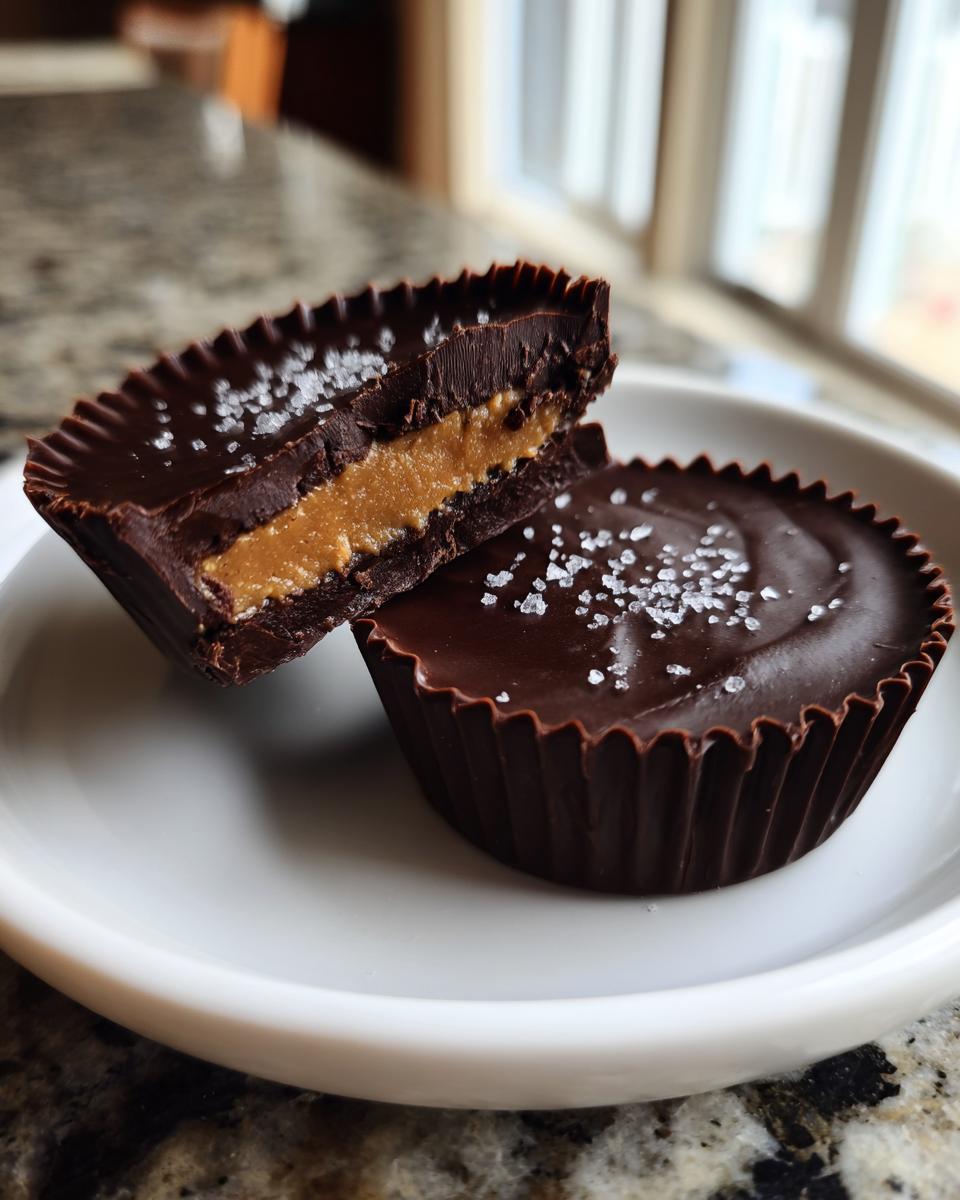
Now for assembly! Spoon just a little bit of that melted chocolate into the bottom of each liner—we’re talking maybe one teaspoon—just enough to give it a solid base. Pop the tray into the freezer for just five minutes. Nona always stressed the quick set here; it keeps the chocolate base from bleeding into the filling layer later! Once that base is firm, dollop in your peanut butter mix, pressing it down slightly. Pour the rest of the chocolate over the top to completely seal it in. Before that final top layer sets up, grab your flaky sea salt and sprinkle just a tiny pinch on top of each one. Pop them back in the fridge for at least an hour until they are totally firm.
Tips for Artisanal Candy Making Success with Homemade Peanut Butter Cups
Since we decided to go the gourmet route with these homemade peanut butter cups, we have to pay a little extra attention to technique. It’s not hard, but managing chocolate and butter mixtures requires a touch of intuition, which is something Nona always had in spades. Getting that professional, glossy finish just takes a few small tricks we can easily adopt.
When you’re melting the chocolate, make sure you don’t overheat it. Chocolate hates high temperatures! If it gets too hot, it might seize up, or worse, become dull once it cools down. That’s why the thirty-second microwave bursts are essential—slow and steady wins the candy-making race. If you see any streaks or it looks dull after it sets, that just means it got a little too warm, but don’t worry, it will still taste fantastic!
Ingredient Notes and Substitutions for Peanut Butter Chocolate Aesthetics
The peanut butter choice really matters for the texture here. If you use a very natural, oily peanut butter where the oil separates easily, your filling might feel a little loose or oily after it sets, which isn’t ideal for the peanut butter chocolate aesthetics we’re going for. Conventional, creamy brands tend to hold their shape better because of the added stabilizers. If you use the natural kind, just make sure you stir out *all* that excess oil before mixing in the butter and sugar!
Now, about that dark chocolate—it’s the boss in this recipe. But listen, if you absolutely must have a sweeter vibe for your easy homemade peanut butter cups, you can swap in a decent-quality milk chocolate. Just balance it out! If you use milk chocolate, skip the optional coconut oil, and maybe even cut back on the powdered sugar in the filling by a tablespoon, because milk chocolate already brings a lot more sweetness to the table.
Making Homemade Peanut Butter Cups for I Love Reese’s Day Ideas
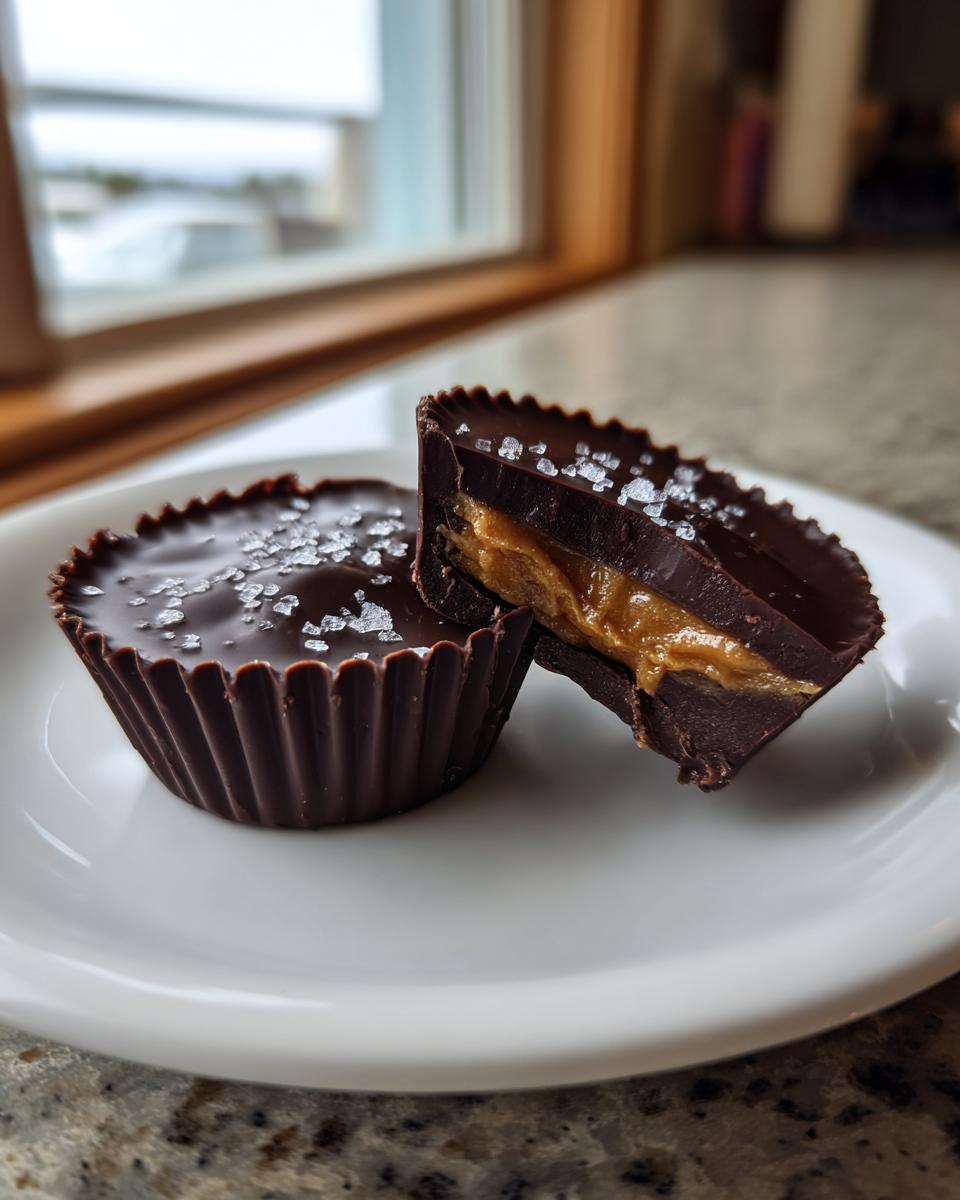
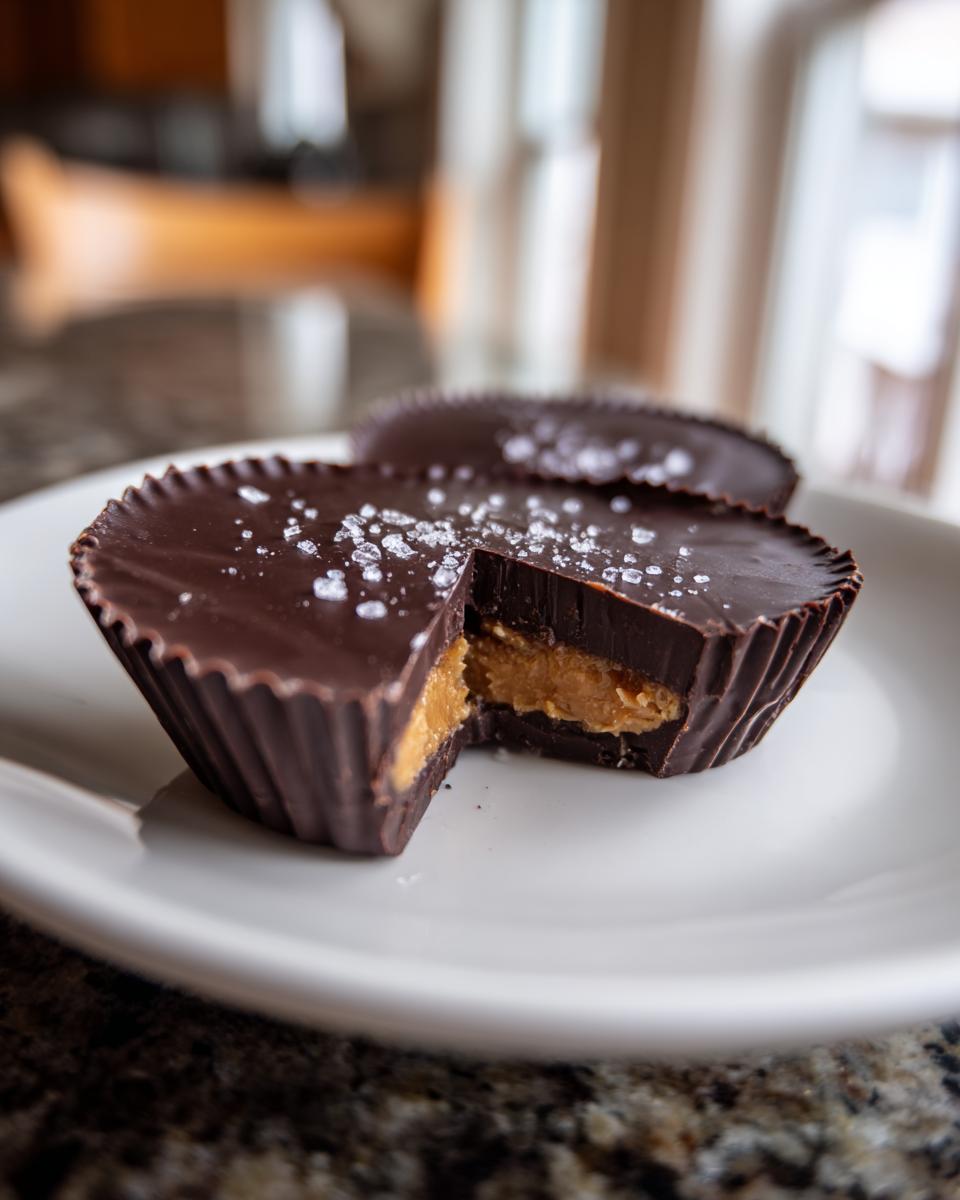
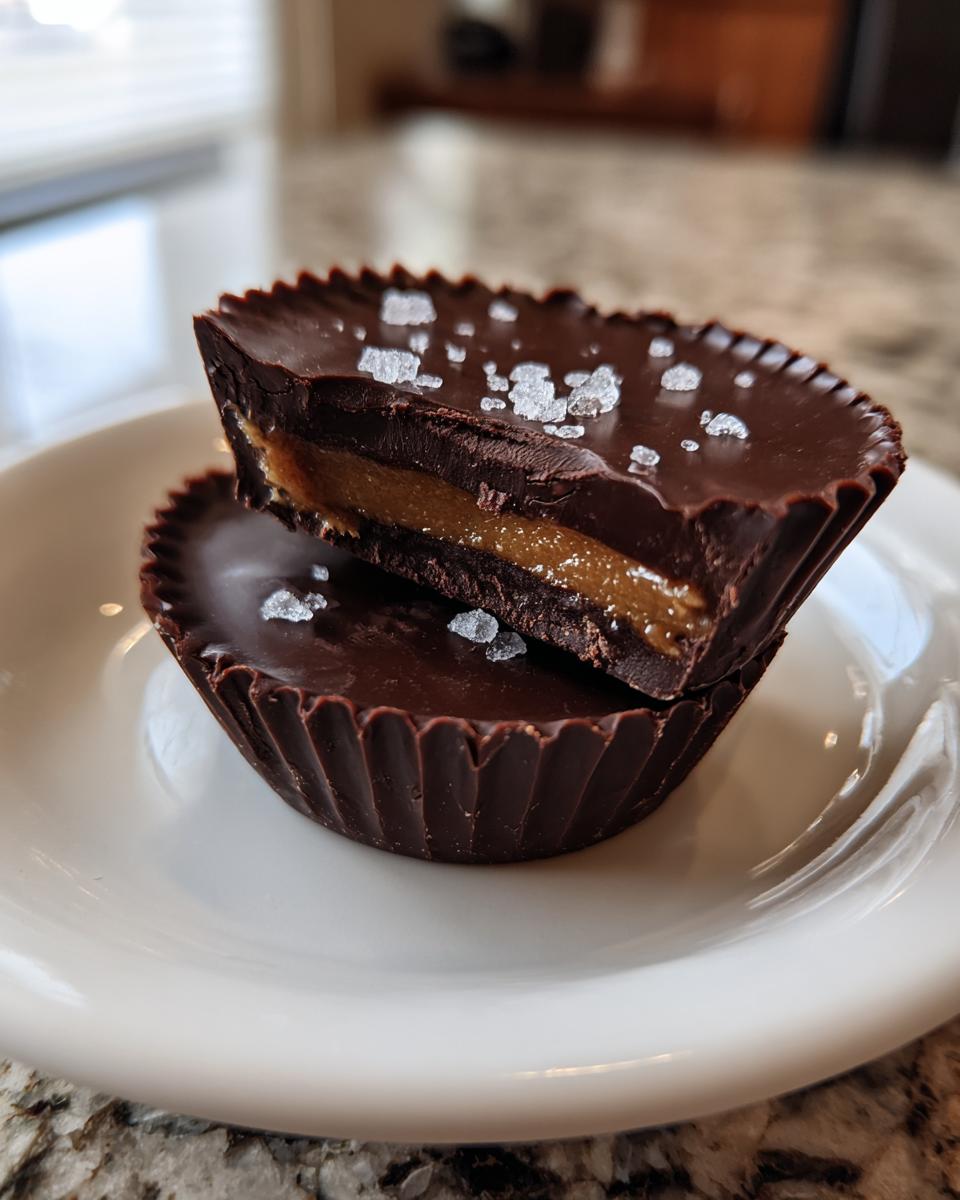
You’ve made these beautiful, artisanal homemade peanut butter cups, so now what do you do with them? These are totally perfect for celebrating I Love Reese’s Day! Forget just grabbing a bag from the store; presentation is everything when you make something this good yourself. Because we used that deep dark chocolate and flaky salt, these look like fancy little bonbons. They are incredible for assembling quick thank-you gifts or adding a sophisticated touch to a dessert spread.
I love just stacking them on a simple white plate—the contrast with the dark chocolate is stunning! They look handmade, not mass-produced, which is exactly the goal here. Plus, nothing says “I care” like giving someone a little batch of these delicious dark chocolate copycats!
Storage and Reheating Instructions for Homemade Peanut Butter Cups
Okay, you’ve made these incredible homemade peanut butter cups, and now you have to resist eating all twelve in one sitting! Since these are truly artisanal candy—meaning they rely on real, softened butter in that creamy filling—we absolutely have to keep them chilled. They don’t like getting warm and soft!
The best way to store them is in an airtight container. I usually layer them between sheets of parchment or wax paper inside a sturdy container so they don’t stick together. Don’t worry about the chocolate cracking if you stack them gently; the layering trick works! Keep them tucked away in the refrigerator. This keeps the filling firm and the chocolate snappy. You can easily keep them fresh like this for about a week.
Now, do you need to reheat them? No way! These are meant to be eaten cold or maybe just slightly cool from the fridge. If you let them sit out on the counter for just five minutes before serving, the filling softens just a hair, making them even more decadent. But seriously, don’t try to microwave them or anything—that will just turn into a melty mess really fast!
Common Questions About Dark Chocolate Reese’s Copycat Recipes
I get so many questions when people try making the switch from the store brand to our version of dark chocolate reese’s copycat cups. It’s a different ballgame when you use real ingredients, but don’t sweat it! Most issues just come down to temperature management. Here are a few things I hear often when folks are trying their hand at artisanal candy making at home.
Can I make these Homemade Peanut Butter Cups vegan?
Oh, that’s a great question! You absolutely can push these into vegan territory, but you have to be careful with your swaps. For the filling, ditch the butter and use a good quality vegan butter substitute that tastes good on its own—that makes a big difference. For the chocolate shell, you must use certified dairy-free dark chocolate chips or bars. Check the label carefully because cross-contamination is common with chocolate!
How long do the Homemade Peanut Butter Cups need to chill?
The absolute minimum time for a solid, easy-to-peel cup is about one hour in the refrigerator. That’s what the main instructions say, and it works fine if you’re in a rush. However, if you can find the willpower—and I know that’s tough—letting them chill for two or even three hours is even better! They set up so much firmer, and the filling feels denser and richer when they are good and cold. Honestly, I usually make mine one day and just leave them in the fridge until the next day before serving them.
Why is my peanut butter filling grainy?
Nine times out of ten, this happens because your butter wasn’t fully softened, or maybe you didn’t mix enough powdered sugar into it. Remember how I talked about creaming in the cake recipe? It’s the same idea here—you need that sugar to dissolve into the fat. If your butter was cold, it clumps up the sugar, and you get those little gritty bits. Next time, make sure that butter is genuinely soft, almost greasy-looking, before you start beating the filling ingredients together.
Can I skip the coconut oil?
You can! The coconut oil is just my little secret for achieving that really smooth, shiny melt that looks so professional, which is what we want for those peanut butter chocolate aesthetics. If you skip it, the dark chocolate will still melt fine, but it might set up a touch harder or duller. If you forget the oil, don’t stress too much; they still taste phenomenal, which is what matters most when you’re celebrating today!
Estimating the Nutrition in Your Homemade Peanut Butter Cups
Now, I know some of you are thinking about macros while you’re indulging in these treats, and hey, I totally get it! Since these are truly homemade peanut butter cups, the exact numbers can shift slightly depending on the brand of peanut butter or the exact cacao percentage of your dark chocolate. We aim for quality over strict restriction here at One Dish Universe, but I always want you to have a good idea of what you’re diving into. Think of this as a helpful guide based on the standard amounts we used for this recipe.
These numbers reflect one single, glorious cup. They definitely pack a punch of satisfying fat and flavor, which is what you expect when you combine quality chocolate and creamy peanut butter!
- Serving Size: 1 cup
- Calories: 220
- Sugar: 14g
- Fat: 17g (mostly from butter and nuts!)
- Protein: 6g
- Sodium: 75mg
- Carbohydrates: 18g
As Elena always says, knowing what’s in your food is part of being thoughtful about what you eat, but enjoying the moment when you share something special like these artisanal candy cups is the real goal. If you happen to use natural, unsweetened peanut butter, you’ll see the sugar content drop a bit, but you might need to add an extra teaspoon of powdered sugar to the filling to keep that sweetness balanced!
Share Your Artisanal Candy Making Creations
Alright, you’ve successfully navigated the world of artisanal candy making and conquered your own batch of dark chocolate reese’s copycat cups! Seriously, take a moment to appreciate how good those look. My goal here at One Dish Universe has always been to make things feel attainable—even decadent treats like these homemade peanut butter cups. Now, I absolutely need to see what you created!
Did you go heavy on the sea salt? Did you manage that perfectly smooth chocolate shell? Don’t keep that deliciousness to yourself! Head down to the comments section and give this recipe a star rating—your feedback helps other busy cooks decide if this is their next weekend project. It truly means the world to me when someone shares their success!
If you snapped a gorgeous photo of your cups (and the peanut butter chocolate aesthetics they provide!), please share it on social media and tag us! Tell your friends about your new favorite recipe for all those special moments, like I Love Reese’s Day celebrations. If you ever have a question that pops up later, or just want to say hello, you can always reach out through the contact page!
PrintArtisanal Dark Chocolate Peanut Butter Cups
Make gourmet homemade peanut butter cups using dark chocolate and sea salt. This recipe honors simple, quality ingredients for an easy artisanal candy treat.
- Prep Time: 20 min
- Cook Time: 5 min
- Total Time: 85 min
- Yield: 12 cups 1x
- Category: Dessert
- Method: No Bake
- Cuisine: American
- Diet: Vegetarian
Ingredients
- 1 cup creamy peanut butter
- 1/2 cup unsalted butter, softened
- 1/4 cup powdered sugar
- 1/2 teaspoon vanilla extract
- 1/4 teaspoon fine sea salt, plus more for topping
- 12 ounces dark chocolate (60-70% cacao), chopped
- 1 tablespoon coconut oil (optional, for smoother melting)
Instructions
- Prepare a mini muffin tin by lining it with paper liners.
- In a medium bowl, combine the peanut butter, softened butter, powdered sugar, vanilla extract, and 1/4 teaspoon of sea salt. Mix until smooth and fully combined.
- Place about half of the chopped dark chocolate and the coconut oil (if using) in a microwave-safe bowl. Microwave in 30-second intervals, stirring well after each, until smooth. Alternatively, melt the chocolate using a double boiler.
- Spoon about 1 teaspoon of melted chocolate into the bottom of each lined muffin cup, spreading it slightly to cover the base.
- Place the muffin tin in the freezer for 5 minutes to set the chocolate base.
- Remove the tin from the freezer. Place about 1 heaping teaspoon of the peanut butter filling on top of the set chocolate layer in each cup. Gently press the filling down slightly.
- Top the peanut butter filling with the remaining melted dark chocolate, ensuring the filling is completely covered.
- Immediately sprinkle a tiny pinch of flaky sea salt over the top of each cup.
- Refrigerate the peanut butter cups for at least 1 hour, or until the chocolate is completely firm.
- Peel off the paper liners and serve your easy homemade peanut butter cups.
Notes
- For a richer flavor, use high-quality dark chocolate.
- If the peanut butter filling is too soft to handle, chill it for 15 minutes before scooping.
- Store finished cups in an airtight container in the refrigerator.
Nutrition
- Serving Size: 1 cup
- Calories: 220
- Sugar: 14
- Sodium: 75
- Fat: 17
- Saturated Fat: 7
- Unsaturated Fat: 10
- Trans Fat: 0
- Carbohydrates: 18
- Fiber: 1
- Protein: 6
- Cholesterol: 15