
Are you dreading the inevitable sticky mess that comes with trying to serve traditional campfire s’mores at a graduation cookout? I know that feeling! Nothing ruins the vibe faster than melted marshmallow oozing onto picnic blankets. That’s exactly why I adapted this classic for the One Dish Universe. Following my Nona’s wisdom, we always look for less mess and more life, right? That means ditching the fire sticks and embracing these incredible, incredibly easy baked S’mores bars instead. They give you that perfect crunch of graham, gooey chocolate, and sweet marshmallow, all in one sturdy square that’s ready for serving a crowd. If you love low-fuss sweets, be sure to check out the rest of my easy dessert recipes, too! Trust me, these are about to become your new summer go-to dessert!
- Why These Baked S'mores Bars Are Your Perfect Cookout Dessert Aesthetics
- Gathering Ingredients for Your S'mores Bars
- Step-by-Step: Making the Ultimate S'mores Bars
- Tips for Perfect S'mores Bars Every Time
- Serving and Storing Your Baked S'mores Bars for a Crowd
- Frequently Asked Questions About S'mores Bars
- Estimated Nutritional Data for S'mores Bars
- Share Your Experience Making These Easy Summer Dessert Bars
Why These Baked S’mores Bars Are Your Perfect Cookout Dessert Aesthetics
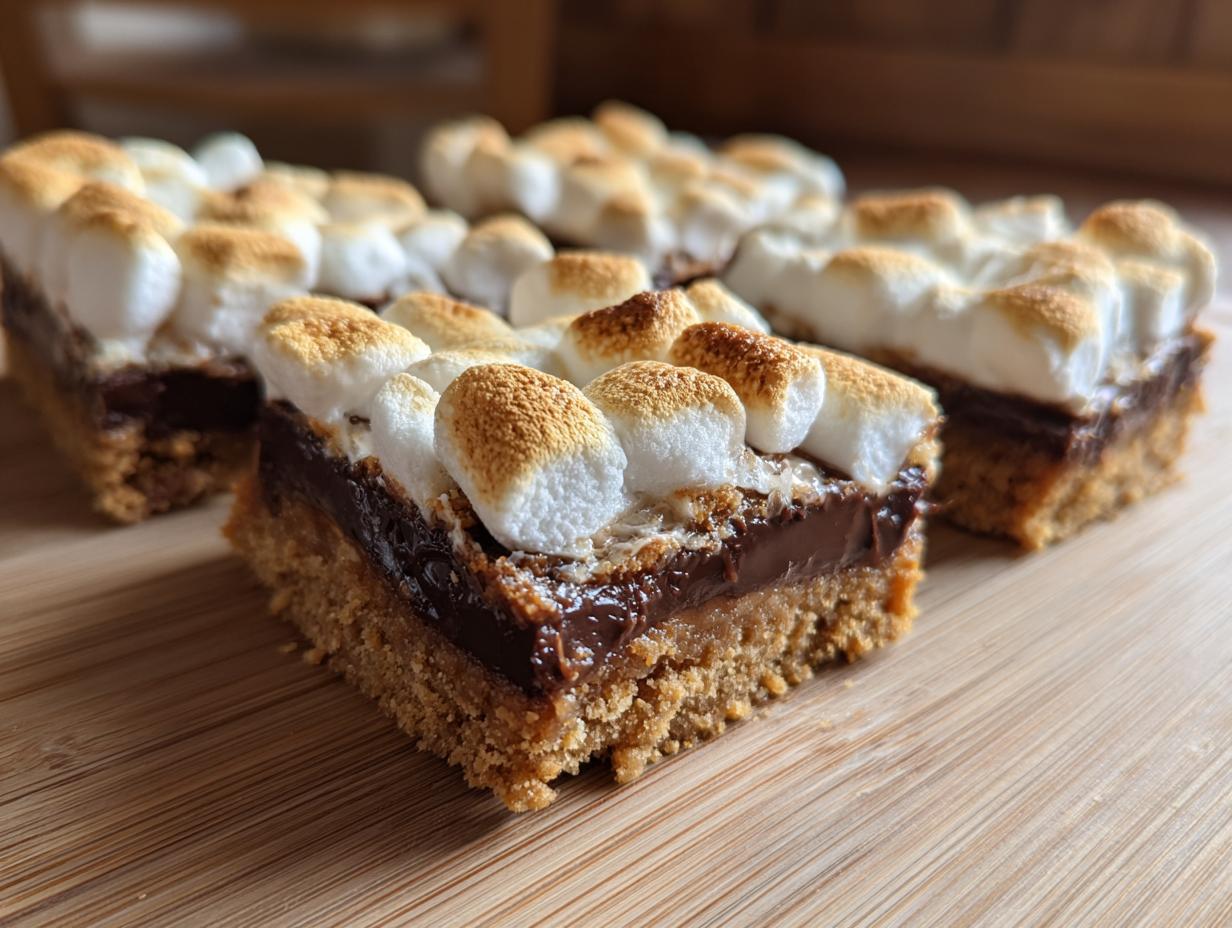
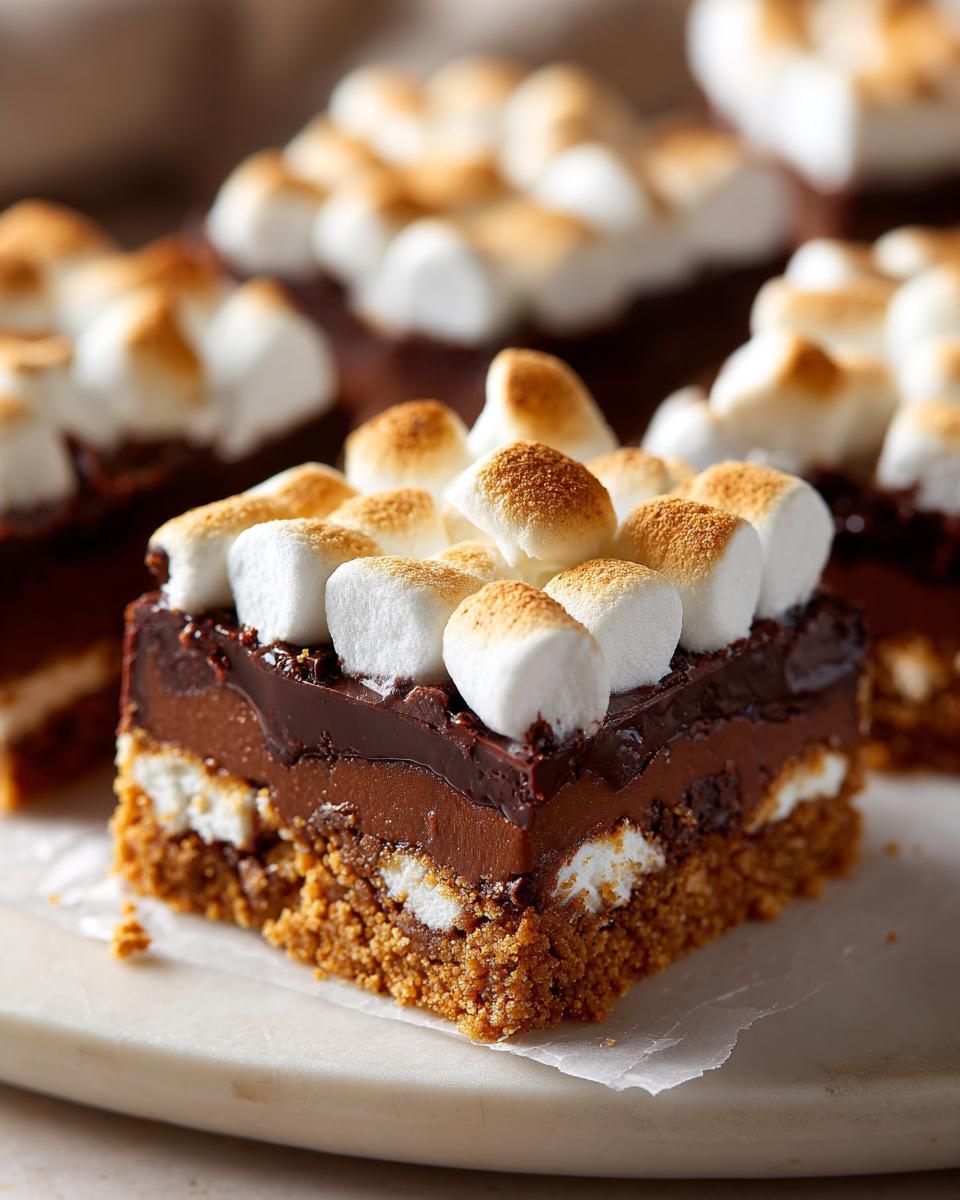
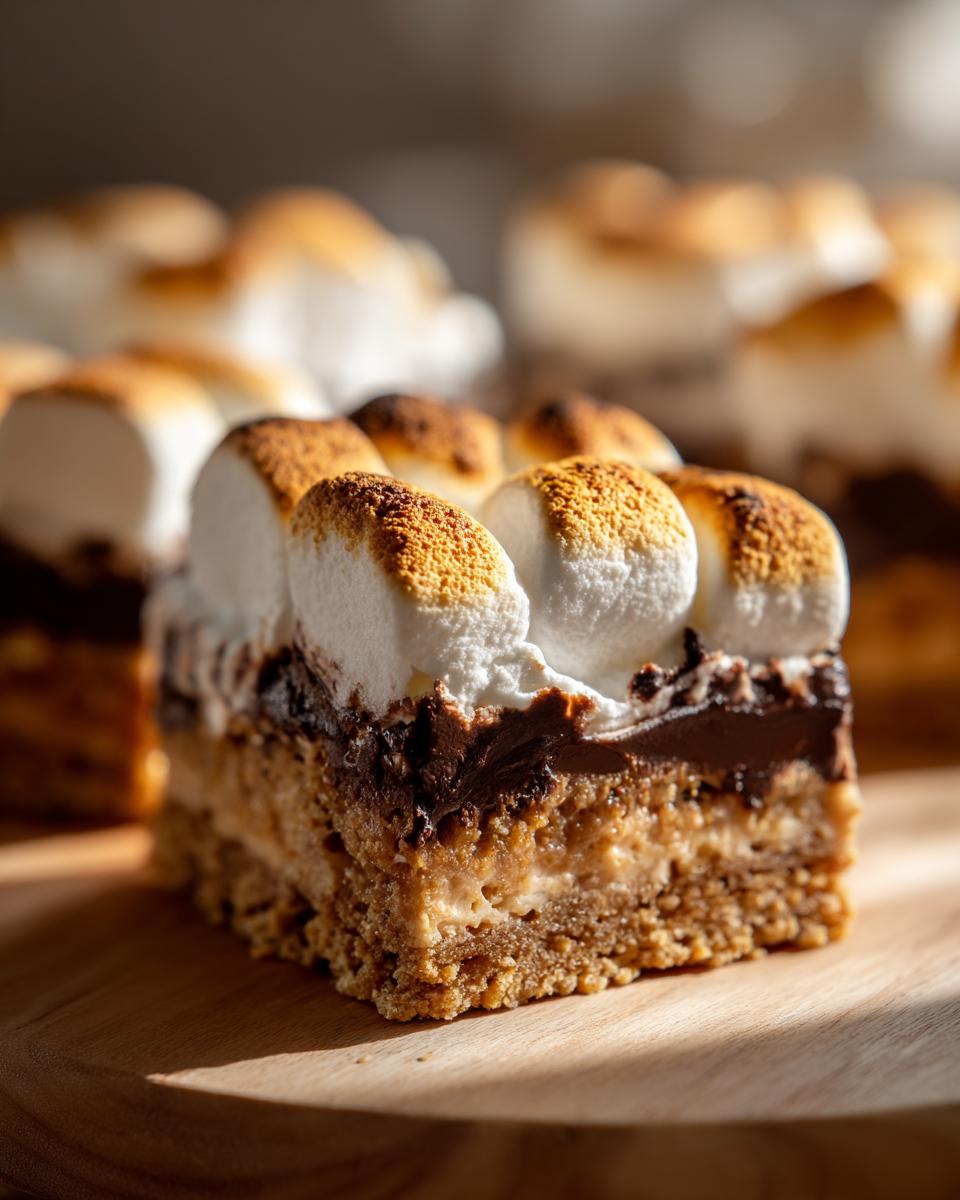
If you’re planning a big party, the last thing you want is a dessert that requires individual assembly or melts instantly on contact. That’s why these baked s’mores bars for a crowd are my absolute favorite choice for summer gatherings. They capture the exact flavor of the campfire treat but offer a stable, sliceable structure. You just bake everything in one pan, let it set up, and slice it into neat squares. Seriously, they are fantastic for the cookout dessert aesthetics because they look layered and gorgeous, but they don’t require toothpicks or tiny plates. Everyone can just grab a square and go!
The One-Dish Promise: Less Cleanup for You
Remember that idea about less mess? Traditional s’mores mean sticky fingers and half-toasted marshmallows everywhere. Baking these bars is the total opposite—it’s the purest form of my Nona’s philosophy. You mix the crust in one bowl, press it into one lined pan, and bake it all together. No assembly line needed! When the party is over, you just lift out the parchment paper, and your main dish is done. Minimal scrubbing means more time relaxing!
Gathering Ingredients for Your S’mores Bars
Getting started on these chocolate marshmallow graham squares is so simple, and that makes me happy! We’re keeping the ingredient list short so you can focus on what matters—the gathering itself. You’ll be glad to know this simple bake yields about 24 perfect squares, so it handles a big group easily. We only need six things, and most of them are already in your pantry. The best part is that these ingredients combine exactly how we want them to for that perfect textural balance.
Ingredient Notes and Essential Substitutions
My biggest advice here is regarding the marshmallows: please use the mini ones! They melt and puff up so much more evenly across the top layer than the big ones, which just clump together. Also, while semi-sweet chips are standard, if you want a deeper, richer flavor that cuts through the sweetness, going for dark chocolate chips is a wonderful substitution. And just to be clear, the recipe calls for one stick of butter, which is exactly 1/2 cup melted—no guessing required!
Step-by-Step: Making the Ultimate S’mores Bars
This is where the magic happens, and honestly, it’s so much easier than trying to roast a marshmallow over a sputtering campfire! We are building these glorious chocolate marshmallow graham squares layer by layer, and the key is moving quickly once things start melting. Getting the temperature and timing right ensures your bars hold their shape beautifully. If you’re looking for more straightforward, one-pan action, you can see some of my go-to simple weeknight dinners for similar efficiency!
Preparing the Graham Cracker Crust Base
First things first—get that oven preheated to 350°F! You absolutely must line your 9×13 pan with parchment paper, making sure you have some overhang on those longer sides. That paper is your handle later! Then mix your crumbs, melted butter, and sugar until it looks like wet sand. Press it down *firmly* into the bottom of the pan—I use the bottom of a flat measuring cup for extra compression. Pop that base into the oven for just 8 minutes so it sets up nicely. This firm foundation is what keeps your final S’mores bars from crumbling apart.
Layering Chocolate, Milk, and Marshmallows
As soon as that warm crust comes out, get busy! Sprinkle all your chocolate chips evenly over the warm surface. The warmth of the crust starts melting them just slightly, which is what we want. Next, slowly pour the sweetened condensed milk right over the chocolate. You need to spread that milk super gently—I use a small offset spatula—so you don’t accidentally stir up the chocolate layer underneath. Seriously, be gentle here! Finish it by scattering those mini marshmallows across the top until the entire surface is covered.
Baking and Crucial Cooling Time for S’mores Bars
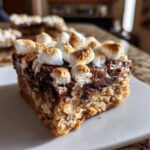
Back into the oven it goes for 12 to 15 minutes. You’re watching for the marshmallows to puff up beautifully and get just the slightest kiss of golden brown. Don’t walk away during this part, because those little guys can burn fast! Once they look perfect, pull the pan out and now comes the hardest part: *waiting*. You need to let these bars cool completely on a wire rack, which takes at least two long hours. This time is non-negotiable if you want those clean squares later!
Tips for Perfect S’mores Bars Every Time
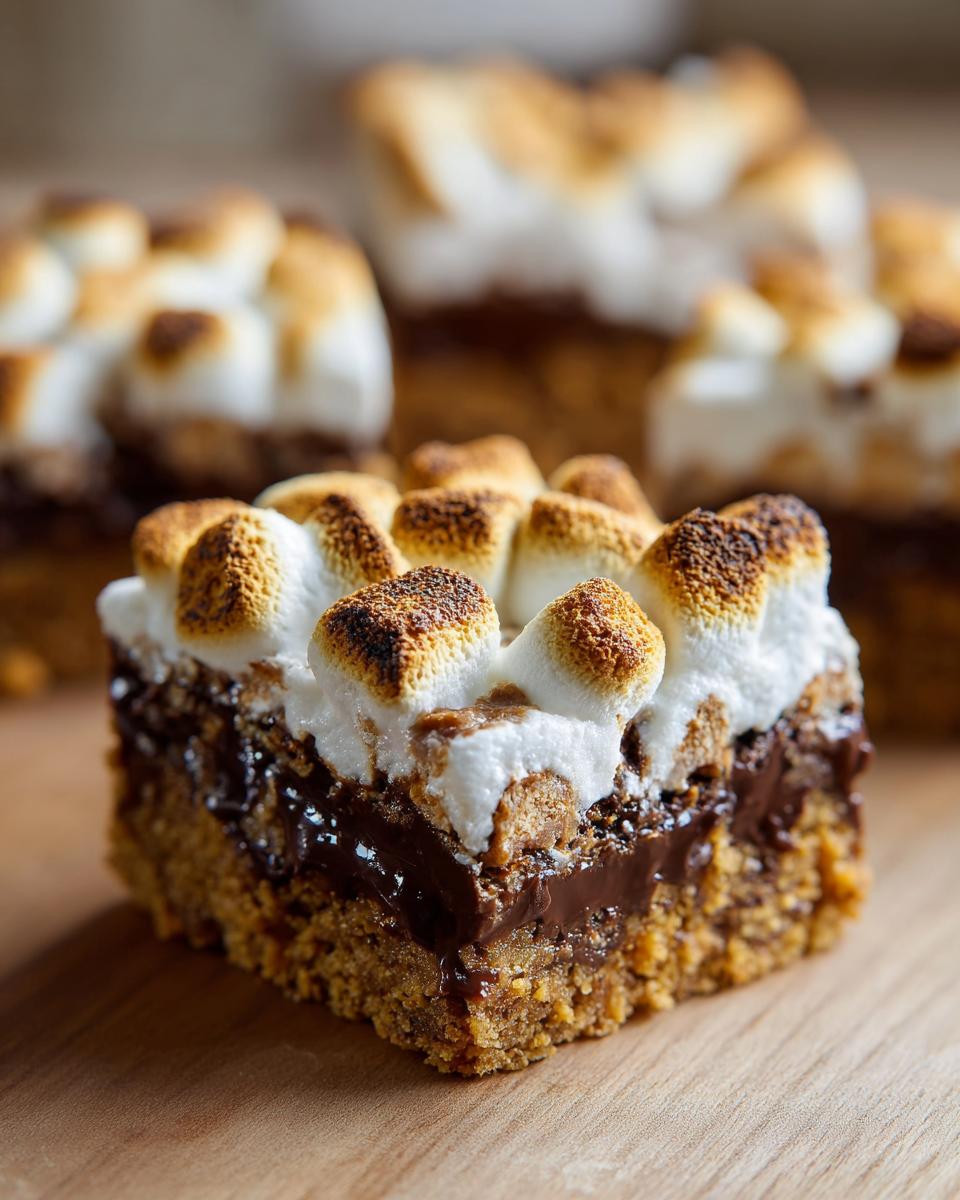
I know the waiting part is tough, but trust me, patience pays off when you’re aiming for clean slices! While these baked versions are worlds better than trying to wrangle those gloopy no bake s’mores treats—because baking locks everything into place—you still need a little trick for picture-perfect serving. If you cut them warm, the chocolate will ooze everywhere, and nobody wants that mess!
So, here’s my absolute best advice for getting those neat, impressive squares for your guests: once the bars have cooled down to room temperature (after those two hours!), slide the whole pan into the refrigerator for at least 30 minutes. Chilling makes the condensed milk layer firm up just enough. When you lift them out using that parchment paper handle, you can cut them much cleaner with a big, sharp knife. These little steps are what turn a good dessert into one Nona would approve of!
If you’re enjoying these simple make-ahead desserts, you might want to check out some of my ideas for easy breakfast brunch ideas for the morning after!
Serving and Storing Your Baked S’mores Bars for a Crowd
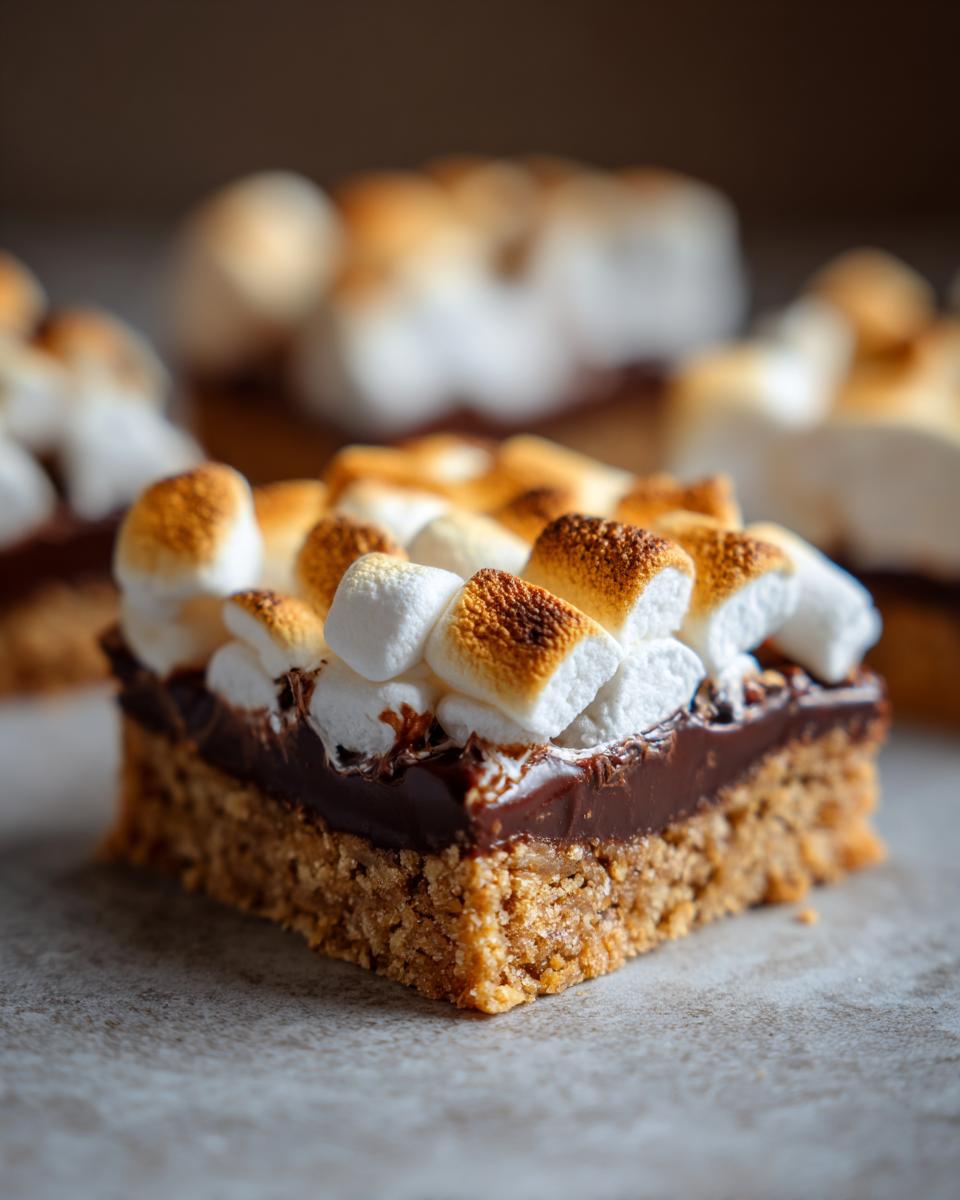
Since we made these specifically to handle a big group efficiently, let’s talk about serving them up looking fantastic! After that crucial chilling time, use the parchment overhang to lift the entire block of bars out of the pan onto a cutting board. Now, take your sharpest, largest knife—and wipe the blade clean between every single cut if you want those professional-looking edges. You can easily cut these into 24 solid squares, enough for everyone at the cookout!
Because we baked these, they are fantastic easy summer dessert bars for food safety too. They actually hold up really well just sitting out on a platter at room temperature for several hours, which is perfect for keeping up with the flow of a party. If you have any leftovers—which I doubt you will!—just store them in an airtight container. They’ll be great for three or four days either on the counter or tucked into the fridge for an extra-firm texture. Seriously, no complicated reheating needed for this one!
If you’re looking for more streamlined meal ideas that save you time later, take a peek at my collection of quick, healthy lunches!
Frequently Asked Questions About S’mores Bars
I always get questions when I start talking about this recipe because I stress that baking is key! It’s my job to make sure your cookout dessert is a huge success, so let’s clear up any last bits of confusion you have about these wonderful bars.
Can I make these without baking (No Bake S’mores Treats)?
That’s a great question, especially for a hot summer day! While I love a good no bake s’mores treat when I’m feeling lazy, this specific recipe needs the oven. We bake it for two reasons: first, to lightly toast those marshmallows so they get that beautiful golden cap, and second, to allow the sweetened condensed milk to melt the chocolate beneath it and set up properly. If you skip the bake, the layers won’t stay together once you cut them, and you’ll end up with a gooey pile rather than a sliceable bar.
How far in advance can I prepare these S’mores bars?
This is what makes them perfect for a crowd! You can absolutely make them a day ahead of time. Once they are completely cooled—and I mean totally cool—you can store them right on the counter, covered tightly, overnight. When you bring them out for your cookout, they should still be perfectly stable. They hold their shape so much better than a traditional s’more, so you don’t worry about them collapsing under the summer heat.
What is the best way to cut these cleanly?
This is the secret weapon for making sure your S’mores bars look as good as they taste! You have to chill them after they reach room temperature, remember? So, after that initial 2 hours of cooling on the rack, pop the whole thing in the fridge for 30 minutes. Then, use a very large, sharp knife—I mean serious knife, not a butter knife! Wipe the blade clean on a paper towel between every single cut. This prevents the chocolate and marshmallow from dragging, giving you those beautiful, defined squares that look so professional.
Estimated Nutritional Data for S’mores Bars
I always put in the work upfront so you know exactly what you’re serving, but take these numbers as a guide, of course! Since every brand of graham cracker or chocolate chip varies slightly, this reflects an estimate based on standard ingredients analyzed for one square.
- Serving Size: 1 square
- Calories: 210
- Sugar: 20
- Sodium: 75
- Fat: 12
- Saturated Fat: 7
- Unsaturated Fat: 5
- Trans Fat: 0
- Carbohydrates: 25
- Fiber: 1
- Protein: 3
- Cholesterol: 20
This analysis is based on my professional background in nutrition, aligning with the One Dish Universe goal of providing nourishing, yet realistic, recipes for busy people. It’s a decadent treat, but totally worth it for a crowd!
Share Your Experience Making These Easy Summer Dessert Bars
I truly hope these S’mores bars make your next big gathering so much easier! Seeing you put time back into your weekend instead of spending it scrubbing a sticky pan is what Chef Elena’s philosophy is all about. If you followed along and end up with these perfect, sturdy squares, I absolutely want to hear about it!
Did they hold up well in the summer heat? Were they the star of your cookout dessert aesthetics? Please take a minute to rate the recipe. Drop a comment below detailing your success or any little tweaks you made. Your feedback helps me continue building this community dedicated to simpler, more delicious living. And if you really loved how little cleanup you had, don’t hesitate to send me a note through the contact page!
PrintNo-Mess Baked S’mores Bars for a Crowd
Make the classic campfire treat without the fire. These baked s’mores bars deliver graham, chocolate, and marshmallow flavor in an easy-to-serve square perfect for your next cookout.
- Prep Time: 15 min
- Cook Time: 25 min
- Total Time: 2 hours 40 min
- Yield: 24 servings 1x
- Category: Dessert
- Method: Baking
- Cuisine: American
- Diet: Vegetarian
Ingredients
- 1 1/2 cups graham cracker crumbs
- 1/2 cup (1 stick) unsalted butter, melted
- 1/4 cup granulated sugar
- 1 (14-ounce) can sweetened condensed milk
- 1 1/2 cups semi-sweet chocolate chips
- 3 cups mini marshmallows
Instructions
- Preheat your oven to 350 degrees Fahrenheit. Line a 9×13 inch baking pan with parchment paper, leaving an overhang on the long sides for easy removal.
- In a medium bowl, combine the graham cracker crumbs, melted butter, and granulated sugar. Press this mixture firmly and evenly into the bottom of the prepared pan to form the crust.
- Bake the crust for 8 minutes until lightly set. Remove from the oven.
- Sprinkle the chocolate chips evenly over the warm crust.
- Pour the sweetened condensed milk over the chocolate chips, spreading it gently to cover the surface.
- Top the mixture with the mini marshmallows, distributing them evenly across the top layer.
- Return the pan to the oven and bake for 12 to 15 minutes, or until the marshmallows are puffed and lightly golden brown. Watch closely to prevent burning.
- Remove the pan from the oven and let the bars cool completely in the pan on a wire rack, about 2 hours. Cooling allows the bars to set properly.
- Once cool, use the parchment paper overhang to lift the entire block from the pan. Cut into squares for serving your large group.
Notes
- For cleaner cuts, chill the cooled bars in the refrigerator for 30 minutes before slicing.
- If you want a richer chocolate flavor, use dark chocolate chips instead of semi-sweet.
- These easy summer dessert bars hold up well at room temperature for several hours, making them ideal for cookout dessert aesthetics.
Nutrition
- Serving Size: 1 square
- Calories: 210
- Sugar: 20
- Sodium: 75
- Fat: 12
- Saturated Fat: 7
- Unsaturated Fat: 5
- Trans Fat: 0
- Carbohydrates: 25
- Fiber: 1
- Protein: 3
- Cholesterol: 20