
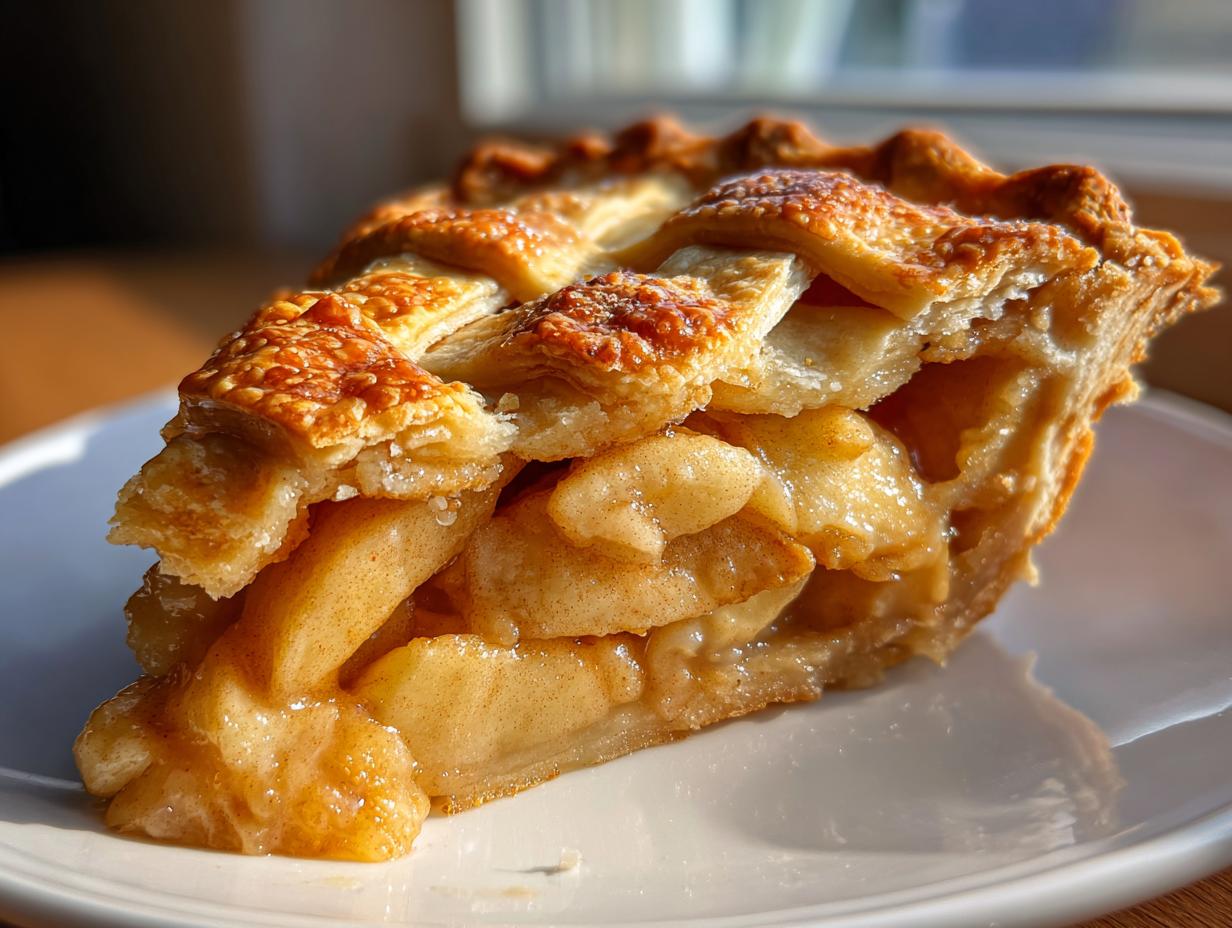
On National Apple Pie Day, we aren’t messing around with shortcuts—we are talking about the real deal: the culinary heritage of the perfect slice. Forget soggy bottoms and runny filling; this recipe is the definitive guide to achieving the gold standard for a Traditional apple pie, boasting that ultra-flaky, buttery crust made from scratch that practically shatters when you touch it. This tradition comes straight from my Nona’s chaotic but loving kitchen, mixing old-world wisdom with the practical science I picked up later. Trust me, making this iconic dessert doesn’t have to be a burden; it’s a celebration. Once you master this technique, these simple dessert recipes will seem too easy!
- Why This Traditional Apple Pie is Your New Gold Standard
- Ingredients for the Perfect Traditional Apple Pie
- Step-by-Step Instructions for Your Traditional Apple Pie
- Baking Times and Temperature Adjustments for Traditional Apple Pie
- Tips for Success with Your Homemade Traditional Apple Pie
- Storage and Reheating Instructions for Leftover Traditional Apple Pie
- Serving Suggestions for the Ultimate Traditional Apple Pie Experience
- Frequently Asked Questions About National Apple Pie Day Recipes
- Nutritional Estimates for One Slice of Traditional Apple Pie
Why This Traditional Apple Pie is Your New Gold Standard
Listen, you can buy crusts, but pie perfection demands we make the crust ourselves. This isn’t just any recipe; it’s formulated for texture. We are achieving that impossible balance: a crust that snaps with butter, and a filling that sets up thick—no watery nonsense allowed! I studied food science, but honestly, Nona knew this stuff instinctively. This pie is the foundation upon which all other pies are judged, and it’s faster than you think to pull together.
- Guaranteed flake factor thanks to pea-sized butter chunks.
- The filling thickens perfectly while baking, thanks to the right amount of flour and lemon juice.
- Superior, deep flavor from mixing tart and sweet apples.
The Secret to a Flaky Traditional Apple Pie Crust from Scratch
When I teach people how to make apple pie crust from scratch, the first thing I drill into them is the temperature rule. Everything must be freezing cold! Seriously, if your butter or water is warm, you’re just making shortbread, not flaky layers. We want large shards of butter in the dough that melt during baking, creating steam pockets. That’s your flakiness!
Don’t touch the dough more than you absolutely have to—overmixing develops gluten and ruins the texture. And please, don’t skip the chill time! Nona always waited at least an hour before rolling the first disc. That rest period lets the gluten relax, so you can roll it out thin without fighting the dough back into a tight little ball.
Ingredients for the Perfect Traditional Apple Pie
Gathering your components is the easy part, but paying attention to quality makes all the difference here. When I was learning, Nona always had her measuring cups and spoons lined up before she even touched the flour. It’s about respecting the process, right? We need very specific things for that ideal flaky structure and filling!
- 2 1/2 cups all-purpose flour
- 1 teaspoon salt
- 1 cup (2 sticks) unsalted butter, very cold and cubed
- 1/2 cup ice water, plus 1 tablespoon for brushing
- 6 large Granny Smith apples, peeled, cored, and sliced 1/4-inch thick
- 2 large Honeycrisp apples, peeled, cored, and sliced 1/4-inch thick
- 3/4 cup granulated sugar
- 1/4 cup packed light brown sugar
- 1/4 cup all-purpose flour (for filling)
- 1 teaspoon ground cinnamon
- 1/4 teaspoon ground nutmeg
- 1/8 teaspoon ground cloves
- 1 tablespoon lemon juice
- 2 tablespoons unsalted butter, cut into small pieces
- 1 large egg, beaten with 1 teaspoon water (for egg wash)
I know the list looks long, but look how simple the mixing is! You can check out my favorite no-knead bread recipe for comparison; baking definitely requires a little more upfront commitment! But trust me, these items are what yield that magazine-worthy result.
Choosing the Best Apples for Pie Baking
You can’t successfully build a pie on just one type of apple; that’s beginner stuff! We need structure *and* flavor depth. I always go for a two-apple punch: Granny Smiths bring the tartness that cuts through the richness of the butter, and they hold their shape really well—that’s crucial so your filling doesn’t totally collapse. Then, we mix in something sweeter like Honeycrisp for the flavor complexity.
When you slice them, keep them uniform, about 1/4-inch thick. If some slices are huge and others are tiny, the small ones will turn to sauce before the big ones are tender. Even cooking means maximum flavor release, and that perfect, slightly thick sauce you want instead of soup!
Step-by-Step Instructions for Your Traditional Apple Pie
Okay, now we get to the fun part! Assembly is where Nona’s magic really came through. First things first: get that oven preheated to 425 degrees Fahrenheit. You want that initial high blast to set the bottom crust ASAP and stop it from getting soggy underneath all those apples. Toss your coated apples in the bottom crust—make sure you dot the top evenly with those little pieces of cold butter; that’s for richness, trust me!
Next, move that second dough disc. If it feels remotely warm or soft, chuck it back in the fridge for ten minutes. You want structure for weaving! Roll it out quickly on a lightly floured surface. Remember, we aren’t looking for perfection here; the slightly rustic look is what makes it charming. You can find some great inspiration for those beautiful tops on brunch inspiration tables, but the technique is straightforward.
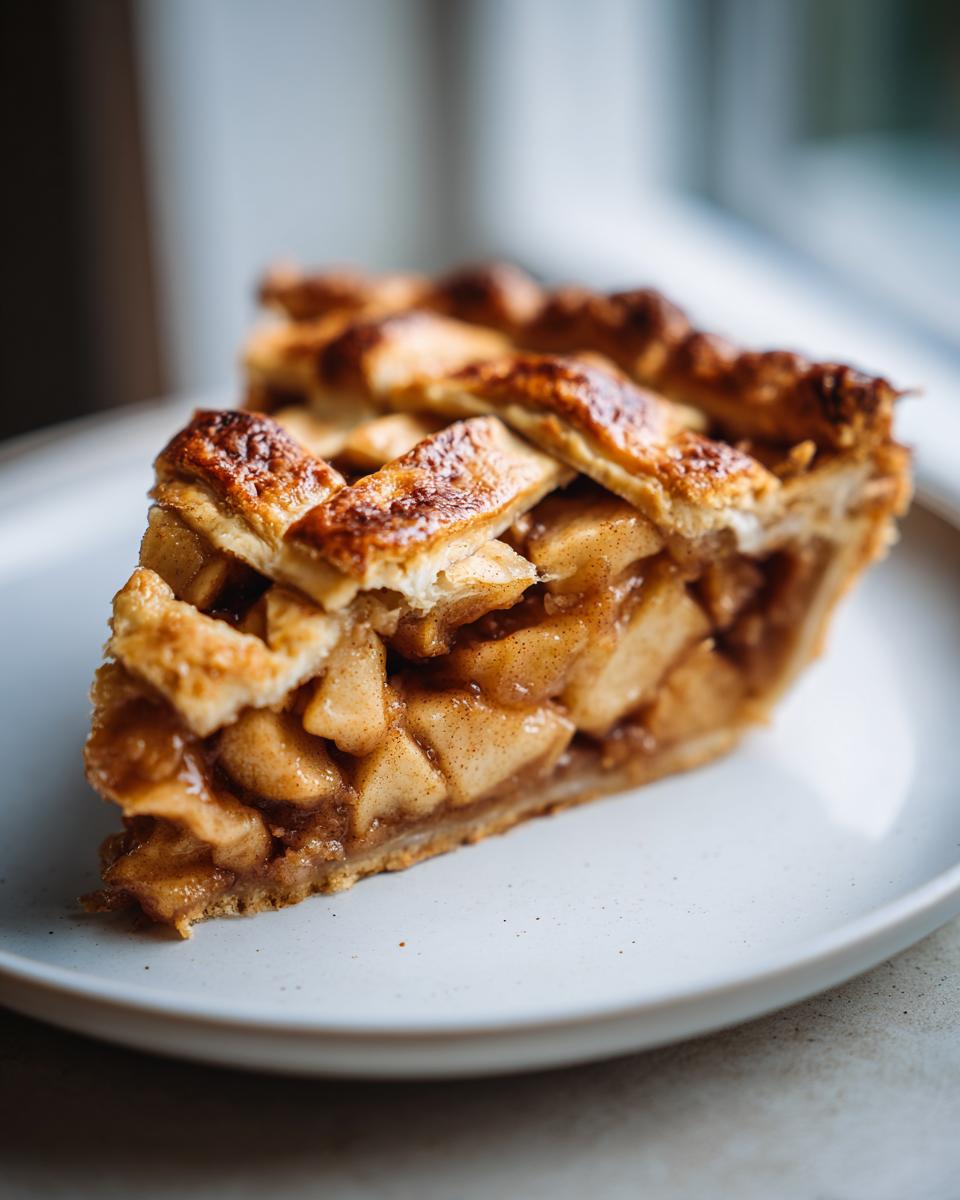
Mastering the Lattice Top Apple Pie Tutorial
This is where people panic, but don’t! Cut your second dough into even 3/4-inch strips. Lay your first set of strips parallel across the filling, leaving space between them—these are your ‘warp’ lines. Now for the ‘weft’ lines: take one strip, fold back every *other* strip of the bottom layer, lay your new strip across, and then unfold the folded strips back over it. Whoa, that was wordy!
The easy way to think of it is: one strip over, one strip under. Then, for the very next strip you lay down, you do the opposite—one strip under, one strip over. It’s just alternating. Once you get that rhythm, it flies! After weaving, trim the ends and crimp the top and bottom edges together tightly. That seal is key to keeping all that delicious juice inside while it bakes!
Baking Times and Temperature Adjustments for Traditional Apple Pie
This two-stage baking process is Nona’s secret for that perfect crust and filling texture. Start the oven HOT at 425 degrees F for precisely 15 minutes. That initial blast sets the bottom crust so it doesn’t dare get soggy. After that, knock the heat down to 375 degrees F and let it bake for another 40 to 50 minutes until you see the filling bubbling thick and juicy through those lattice gaps.
Here’s the practical part: if your beautiful, fluted edges are turning dark brown too fast—usually around the 30-minute mark—just grab a small strip of aluminum foil. Loosely tent it over the rim. It shields the crust while letting the center finish cooking. Don’t peek too often, though! Patience pays off here.
Tips for Success with Your Homemade Traditional Apple Pie
I’ve gathered Nona’s wisdom and added my own scientific notes to make sure this pie is foolproof. Remember, the notes section on your card sometimes contains the most important secrets! First off, please heed the apple advice: mixing sweet and tart varieties is the absolute best way to get that balanced flavor profile. That’s non-negotiable for a true classic.
Also, stick to the cold ingredients rule for the crust failure prevention. I know it’s tempting to speed things up, but those pea-sized butter lumps need to stay frozen solid going into the oven. My favorite tip from Nona relates to the cooling phase, though. She would stand guard over the pie for the first three hours, refusing to let anyone touch it! She said the filling needs that time to coagulate around the starches. If you slice it hot, you get hot apple soup, not a beautiful slice.
If you find your filling looks a little thin after the initial bake, you can try nudging the top crust down gently after about 20 minutes—it helps those steam pockets get out faster. It’s a little hack I learned, though I prefer just letting it cool completely. You can find some fun ideas for lighter meals like luxury avocado toast, but this pie requires dedication!
Storage and Reheating Instructions for Leftover Traditional Apple Pie
Now, if you actually *have* leftovers—which honestly, I doubt—storage is key. Since the filling has a good amount of flour and sugar, you can leave the whole pie out on the counter, covered loosely, for about a day. But for anything longer, cover it tight and pop it in the fridge; it’ll be good for up to four days.
When you want a slice later, don’t even think about the microwave! That ruins the crust instantly. The best trick, which I learned from trying to save Nona’s pie samples, is to reheat individual slices in a moderate oven—say, 325 degrees F—for about 10 minutes. It crisps the crust right back up! If you’re looking for more easy baking projects, check out these easy dessert recipes.
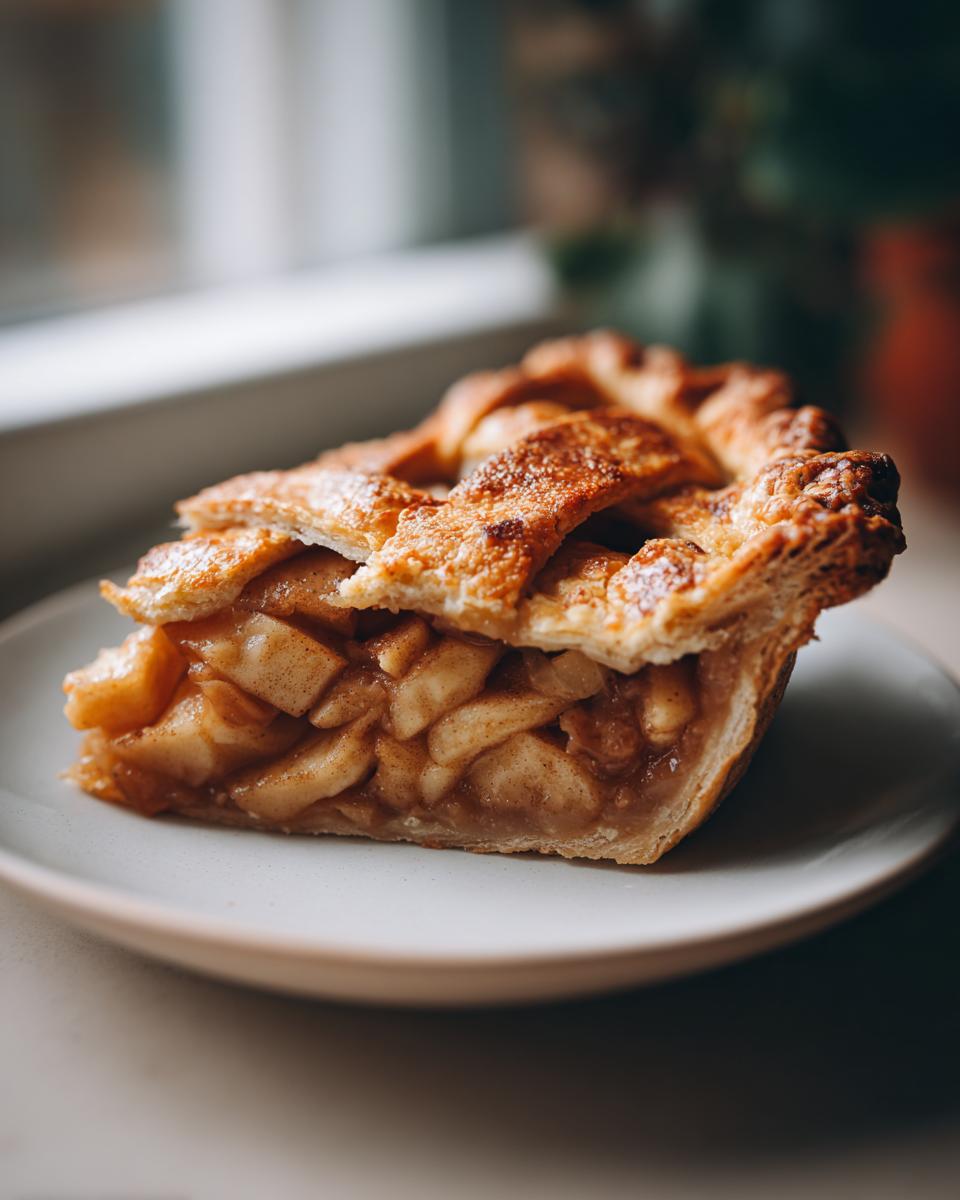
Serving Suggestions for the Ultimate Traditional Apple Pie Experience
Nona believed a perfect dessert needs no fuss, but a little something extra never hurt! The classic pairing, obviously, is a scoop of really good vanilla bean ice cream melting over that warm, spiced fruit. That hot-and-cold contrast is unbeatable.
But here is the real game-changer, especially for you cheese lovers: a thin slice of sharp, white cheddar cheese! It sounds crazy, but the salty bite cuts through the sweetness perfectly. Keep your pairings simple so the flavor of Nona’s crust shines brightest. If you’re looking for something refreshing to serve alongside, try whipping up a batch of my fresh strawberry lemonade!
Frequently Asked Questions About National Apple Pie Day Recipes
I get asked the same things every time I share Nona’s recipe, especially around lunchtime when people are dreaming of dessert! Let’s clear up the big ones so you nail this pie on the first try.
Can I use pre-made crusts for this recipe?
Look, I promise you, the whole point of this being the gold standard is the crust—it’s magic! If you’re in a real pinch, fine, use store-bought. But you won’t get that incredible flaky texture we talked about, and you’ll miss out on learning how to make apple pie crust from scratch properly. It adds at least 20 minutes but it’s worth every second!
Why is my apple pie filling still runny after cooling?
This is almost always one of two things: either you didn’t use enough thickener (make sure you used the 1/4 cup of flour for the filling!), or you cut into the pie too soon. You MUST let it cool for a minimum of three hours. Seriously, leave it alone! The starches need that time to firm up properly. That’s the hard truth for achieving the best results.
What if I can’t find Honeycrisp apples? What are the best apples for pie baking?
My go-to mix is Granny Smith for structure and tartness, with something sweeter like Fuji or Gala added in. Honeycrisp is just my favorite extra addition! The key is that contrast. Never use just one type of soft apple, or you are destined for apple mush. Stick to at least one good, firm, tart variety.
Is the lattice top necessary for the best aesthetics?
It sure helps nail that perfect apple pie aesthetics pinterest shot! A full top crust works fine too, but you have to cut steam vents in it. The lattice looks gorgeous and allows steam to escape evenly, which helps prevent the bottom crust from getting too soggy while you’re baking! It’s functionality disguised as beauty, which Nona loved.
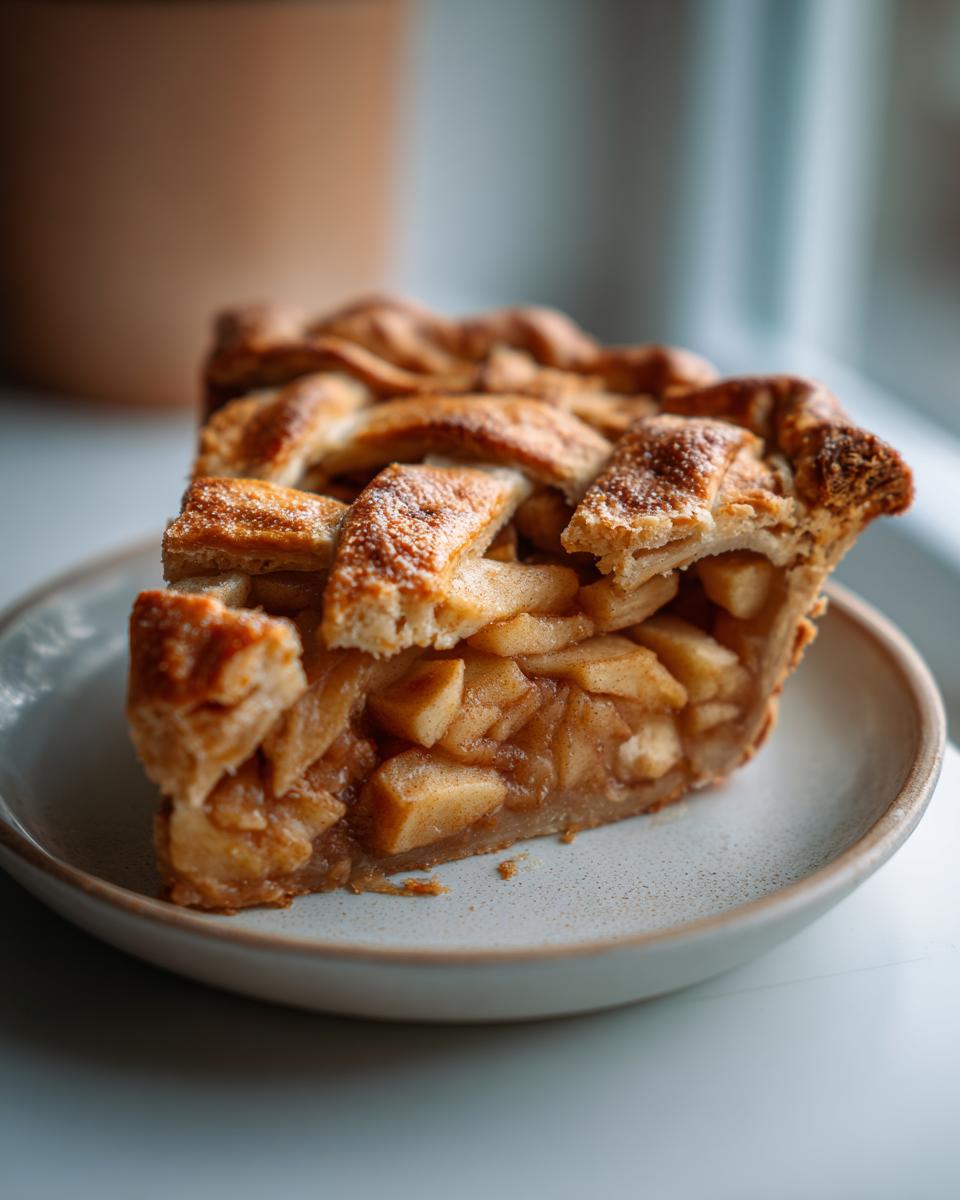
Nutritional Estimates for One Slice of Traditional Apple Pie
I always tell people not to worry too much about this part, because honestly, this pie is a treat! But for those of you tracking things, here’s a rough guideline based on the recipe. This estimate covers one generous slice, which is surprisingly reasonable considering how much butter is in that crust.
- Serving Size: 1 slice
- Calories: 450
- Sugar: 35g
- Sodium: 250mg
- Fat: 25g
Now, a quick word of science from my degree: these numbers are estimates! They change based on how thick you slice the apples or what brand of sugar you grab. If you’re making this for a big holiday gathering, just know the real value is in the memory it creates, not the precise grams of fat!
PrintNona’s Traditional Flaky Apple Pie

This recipe delivers the gold standard for a classic American apple pie, featuring a buttery, flaky crust made from scratch and a perfectly spiced, thick apple filling. Master the lattice top for a beautiful presentation.
- Prep Time: 45 min
- Cook Time: 65 min
- Total Time: 110 min
- Yield: 8 servings 1x
- Category: Dessert
- Method: Baking
- Cuisine: American
- Diet: Vegetarian
Ingredients
- 2 1/2 cups all-purpose flour
- 1 teaspoon salt
- 1 cup (2 sticks) unsalted butter, very cold and cubed
- 1/2 cup ice water, plus 1 tablespoon for brushing
- 6 large Granny Smith apples, peeled, cored, and sliced 1/4-inch thick
- 2 large Honeycrisp apples, peeled, cored, and sliced 1/4-inch thick
- 3/4 cup granulated sugar
- 1/4 cup packed light brown sugar
- 1/4 cup all-purpose flour (for filling)
- 1 teaspoon ground cinnamon
- 1/4 teaspoon ground nutmeg
- 1/8 teaspoon ground cloves
- 1 tablespoon lemon juice
- 2 tablespoons unsalted butter, cut into small pieces
- 1 large egg, beaten with 1 teaspoon water (for egg wash)
Instructions
- Prepare the Crust: In a large bowl, whisk together the 2 1/2 cups flour and salt. Cut in the cold butter using a pastry blender or your fingers until the mixture resembles coarse crumbs with some pea-sized pieces of butter remaining. Gradually add the ice water, one tablespoon at a time, mixing until the dough just comes together. Do not overmix. Divide the dough in half, flatten each half into a disk, wrap in plastic, and chill for at least 1 hour.
- Prepare the Filling: In a large bowl, combine the sliced apples, granulated sugar, brown sugar, 1/4 cup flour, cinnamon, nutmeg, cloves, and lemon juice. Toss gently until the apples are evenly coated. Set aside while you roll out the bottom crust.
- Assemble the Bottom Crust: On a lightly floured surface, roll out one disk of dough into a 12-inch circle. Carefully transfer the dough to a 9-inch pie plate. Trim the edges, leaving a 1-inch overhang. Place the filling into the crust. Dot the top of the filling with the 2 tablespoons of butter pieces.
- Create the Lattice Top: Roll out the second disk of dough. Cut the dough into even strips, about 3/4-inch wide. Weave the strips over the filling to create a lattice top. Trim the strips and crimp the edges of the top and bottom crusts together to seal.
- Bake: Preheat your oven to 425 degrees Fahrenheit. Brush the lattice top with the egg wash and sprinkle lightly with extra granulated sugar for aesthetics. Place the pie on a baking sheet (to catch drips). Bake for 15 minutes at 425 degrees F. Reduce the oven temperature to 375 degrees F and continue baking for 40 to 50 minutes, or until the crust is golden brown and the filling is bubbling thickly. If the edges brown too quickly, cover them loosely with aluminum foil.
- Cool: Let the pie cool on a wire rack for at least 3 hours before slicing. This allows the filling to set properly.
Notes
- Use a mix of tart (Granny Smith) and sweet (Honeycrisp or Fuji) apples for the best flavor balance.
- For the flakiest crust, keep all ingredients, especially the butter and water, extremely cold.
- If your filling seems thin after cooling, you can gently press down on the top crust slightly after the first 20 minutes of baking to help release steam.
Nutrition
- Serving Size: 1 slice
- Calories: 450
- Sugar: 35g
- Sodium: 250mg
- Fat: 25g
- Saturated Fat: 15g
- Unsaturated Fat: 10g
- Trans Fat: 0g
- Carbohydrates: 58g
- Fiber: 3g
- Protein: 5g
- Cholesterol: 60mg