
Heading straight into Memorial Day weekend or planning that big July Fourth bash? We all want that showstopper appetizer sitting proudly on the table, right? But honestly, who has time for complicated baking or juggling six different pots when you’re trying to enjoy the sunshine? That’s where Nona’s wisdom absolutely shines. She always said the best food connects people without stressing the cook. That’s why I’m so thrilled to introduce you to the perfect, low-effort contribution for any patriotic gathering: the Star spangled layer dip. It’s incredibly attractive, manages the heat better than most fancy spreads, and delivers that huge ‘wow’ factor with almost zero technical skill required. Less mess, more life—that’s the promise this dip delivers!
- Why This Star Spangled Layer Dip is Your Go-To Easy Memorial Day Appetizer
- Gathering Ingredients for Your Star Spangled Layer Dip Recipe
- Step-by-Step: How to Make Star Spangled Layer Dip
- Tips for Success with Your Patriotic Layer Dip Recipe
- How to Make Layered Dip Ahead of Time for Parties
- Serving and Storing This Easy Memorial Day Appetizer
- Frequently Asked Questions About Layered Dips
- Nutritional Estimates for Your Party Contribution
- Share Your Star Spangled Layer Dip Creations
Why This Star Spangled Layer Dip is Your Go-To Easy Memorial Day Appetizer
When I bring a dish to a summer party, I need two things: it has to look amazing, and it can’t melt into soup before I get the chips dipped. This Star spangled layer dip checks both boxes perfectly. It’s the ultimate secret weapon for looking like you tried way harder than you actually did. Forget those fussy recipes; this is pure celebration fuel.
Visual Impact for Patriotic Gatherings
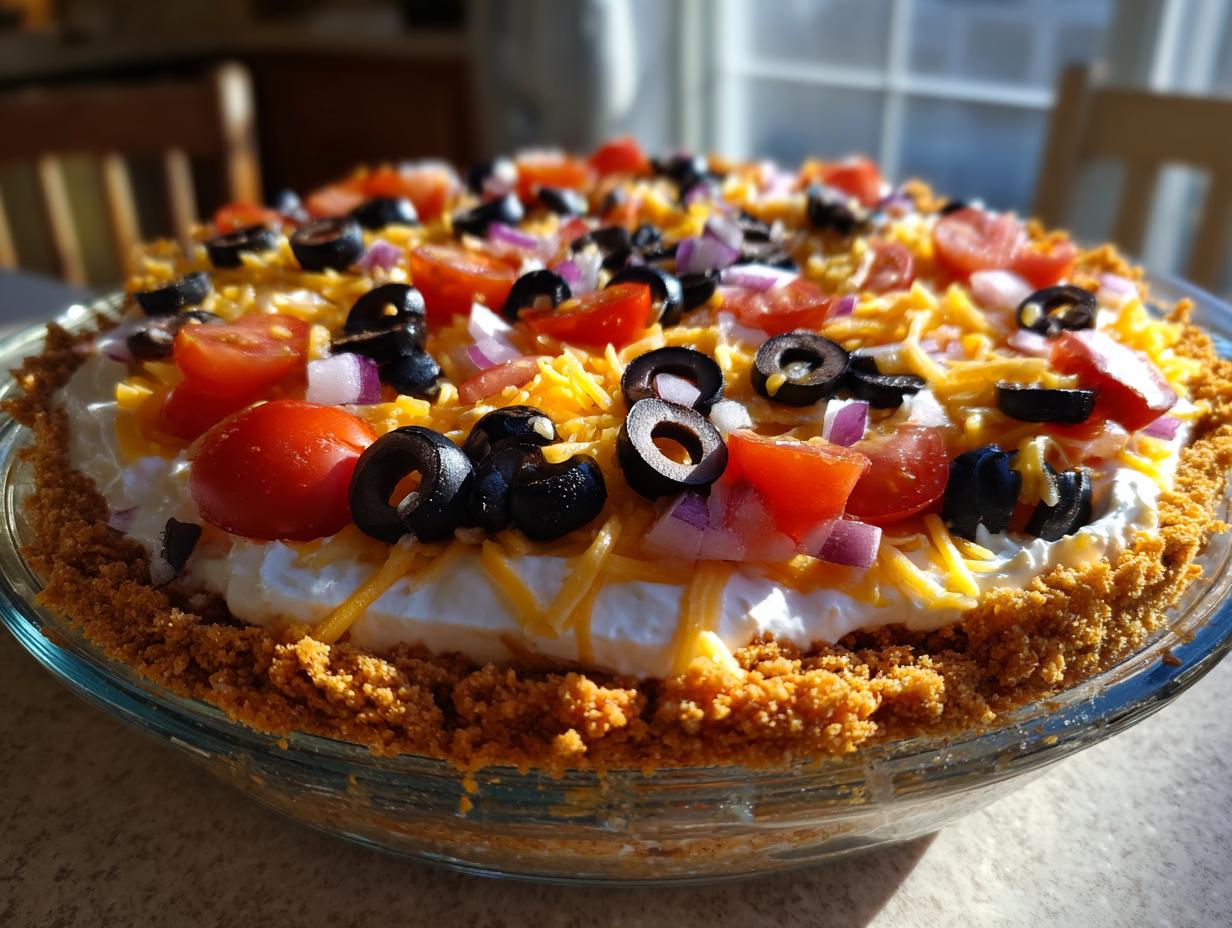
Let’s be real, you want that moment when someone walks up to the snack table and immediately asks, “Did you make that?” The distinct red, white, and blue layers scream celebration. It’s effortlessly patriotic, and trust me, you’ll get major bragging rights when everyone else has brought a basic tub of hummus.
Structural Integrity for Warm Weather Transport
This is where the science Nona taught me comes in handy! Because we’re using slightly firm layers, like the cream cheese and the seasoned sour cream, this dip holds its shape beautifully. The key is that minimum two-hour chill time we talk about later. That sets the structure so you can confidently pack it up knowing it won’t slide around on the drive over. For more simple ideas check out my collection of easy dessert recipes, though trust me, this dip disappears first!
Gathering Ingredients for Your Star Spangled Layer Dip Recipe
Okay, let’s talk about what you need for this fantastic star spangled layer dip. Since there’s no cooking involved, the quality of your basics really matters. Listen, Nona taught me that grabbing the right measurements saves so much headaches later. This list looks long, but it’s just simple layering, promise!
We need structure for those clean lines, so make sure your cream cheese is actually softened up. Also, and this is super important, you must use refried beans that aren’t fat-free. The regular stuff holds the layers above it so much better, believe me on this one.
Ingredient Clarity and Preparation Notes
Here is exactly what you need. Pay close attention to the salsa note—it’s the differentiator between a great dip and a soggy mess!
- One big, 16-ounce container of sour cream.
- One standard 1-ounce packet of taco seasoning mix.
- One 15-ounce can of regular refried beans—no light stuff!
- Eight ounces of cream cheese, make sure it’s completely soft.
- One cup of salsa, and I mean really well-drained salsa. Check out my cowboy caviar recipe for tips on draining heavy ingredients.
- One cup of shredded cheddar cheese.
- Half a cup of sliced black olives.
- Half a cup of diced tomatoes.
- A quarter cup of crumbled blue cheese for that sharp blue accent.
- A quarter cup of finely chopped red onion for a little bite.
Step-by-Step: How to Make Star Spangled Layer Dip
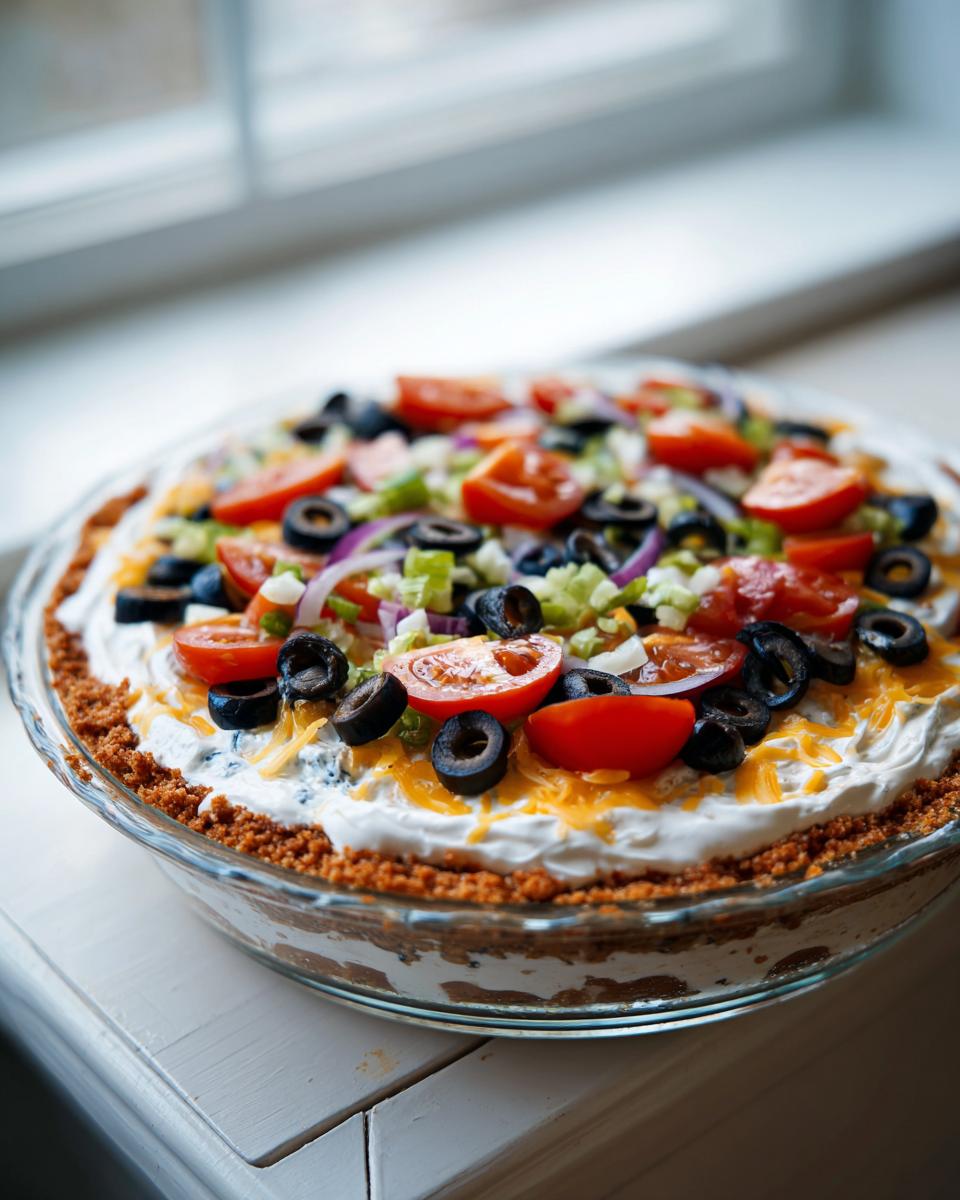
Okay, deep breath! This is the easy part, I promise. We are building this masterpiece layer by layer, treating this shallow dish like a tiny, edible flag. Remember, gentle hands are key here so the base layers don’t get all mushy and mix together. This is where we create the structure for our amazing Star spangled layer dip.
Creating the Flavor Base Layers
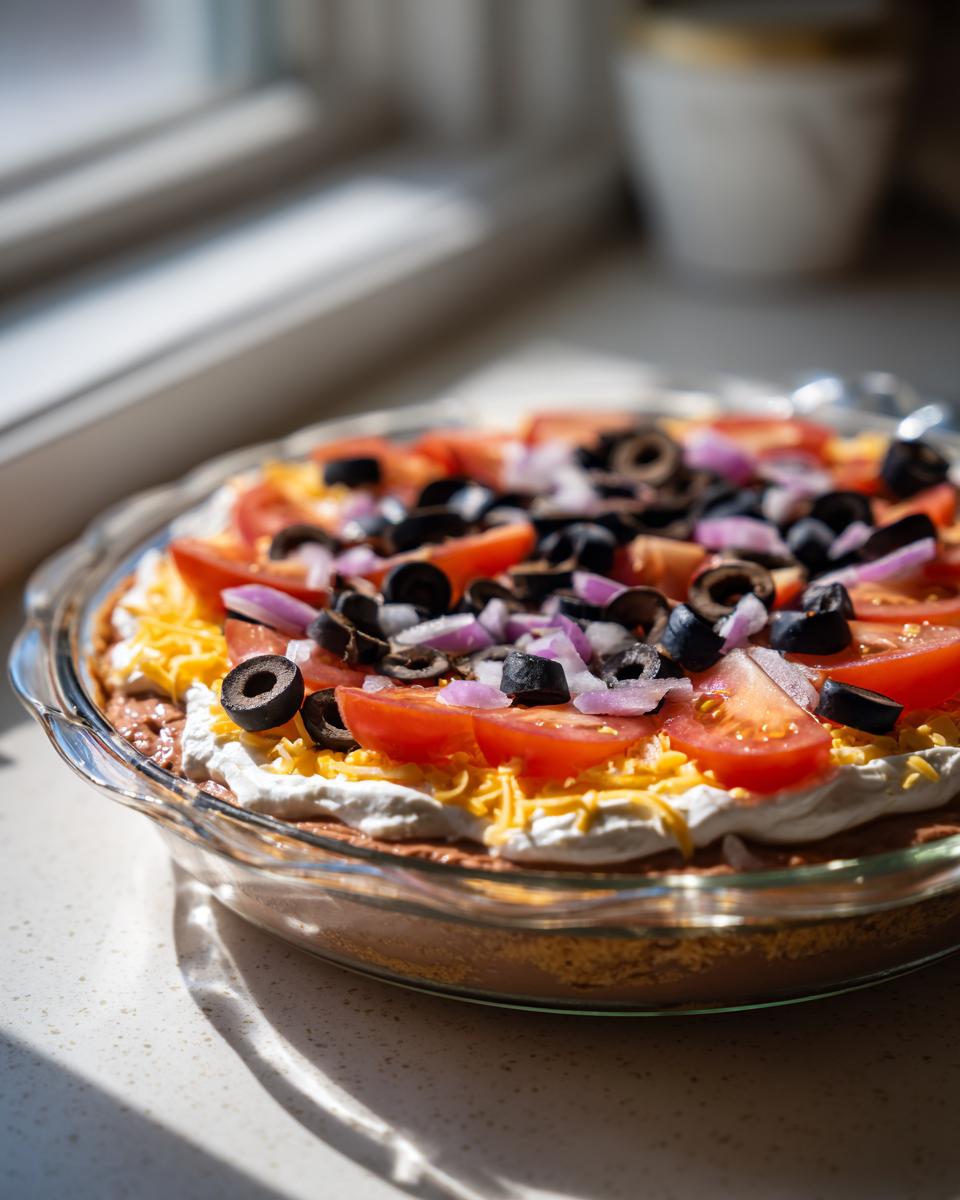
First things first: grab a bowl and mix that whole packet of taco seasoning right into your full container of sour cream. Mix it until it’s perfectly creamy and tan—that’s your white layer coming alive! Now, spread the refried beans right into the bottom of your pie plate. Be firm but even. Next, evenly spread that softened cream cheese on top of the beans. Finally, grab that seasoned sour cream and spread it gently over the cream cheese. See? We’ve got three solid layers already locked in!
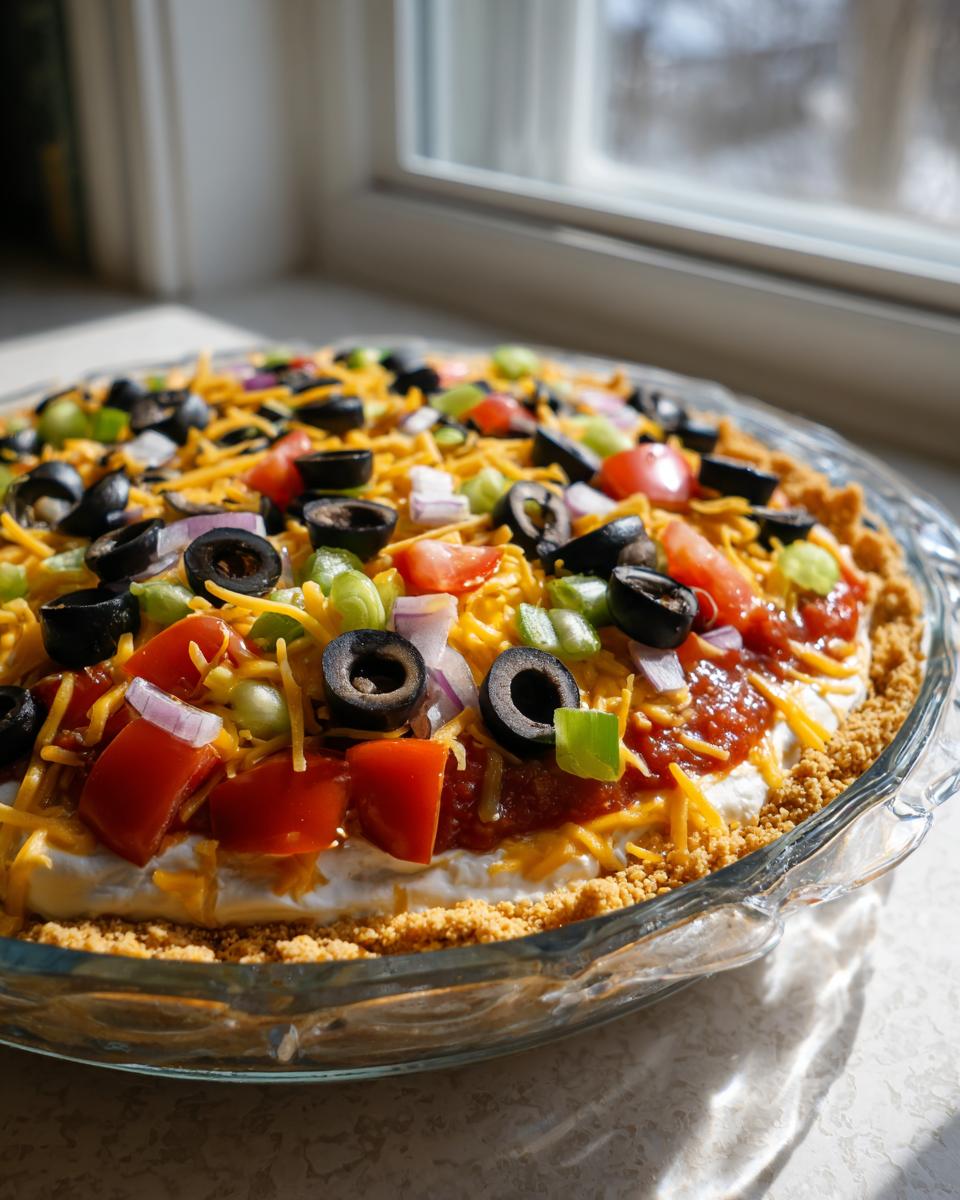
Assembling the Red, White, and Blue Toppings
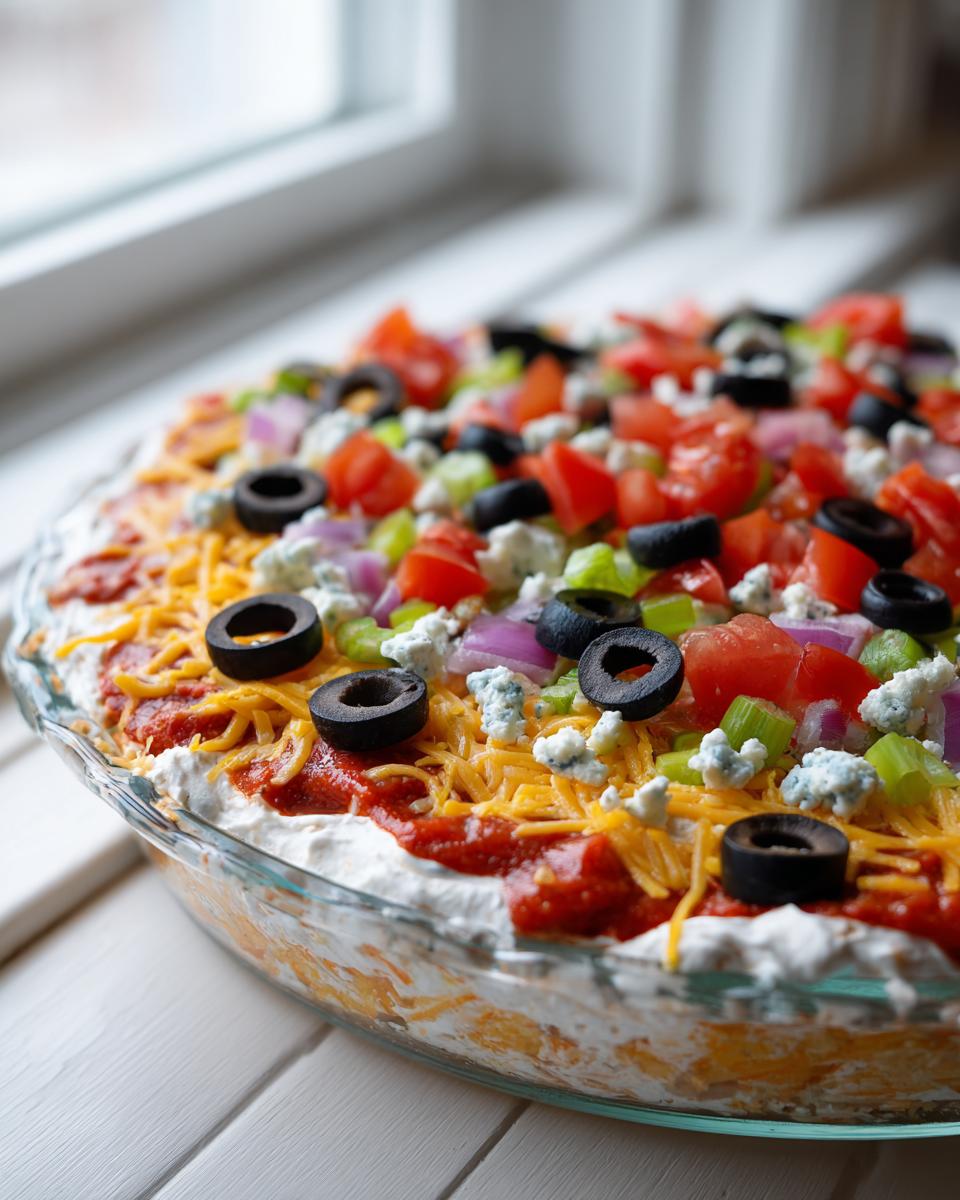
Time for color! Take your well-drained salsa and spoon it carefully over the sour cream. Don’t dig in, just gently deposit it. Now sprinkle that shredded cheddar over the salsa. For the finale, treat this like painting: spread your diced tomatoes and black olives across the top to create the stripes. Then, dot those crumbled blue cheeses and the chopped red onions sporadically over the top for the ‘stars.’ Don’t forget the final, most important step: cover it tightly and let this chill out in the fridge for at least two hours! This setting time is non-negotiable for sharp lines. If you are looking for other simple meals, check out my dinner guides, but for now, focus on chilling this beauty up!
Tips for Success with Your Patriotic Layer Dip Recipe
I know you’re excited to dig in, but if you want those gorgeous, sharp layers showing off at your party, a few quick tips make all the difference for this patriotic layer dip recipe. Nona always said that the difference between good and fantastic is in the details you *don’t* write down. These little adjustments are what make the recipe reliable every single time, especially when serving it outside.
The Importance of Draining Salsa
Seriously, listen to me on the salsa. If you dump salsa straight from the can or jar, guess what happens? Water pools. Water undermines the lovely cream cheese layer beneath it, and suddenly your ‘stripe’ melts into the layer below. So, before you do anything else for this dip, dump that cup of salsa into a fine-mesh sieve and let it weep for about 15 minutes. It sounds dramatic, but it saves the structural integrity of your layers!
Achieving Sharp, Defined Layers
When you’re layering, always use the back of a large metal spoon to gently spread the next ingredient. Place a dollop of the mixture gently in the center, and then slowly push outward in wide, sweeping circles. Don’t try to scrape right down to the layer beneath! You want the spoon to just barely kiss the surface of the layer before it, keeping your lines clean. This gentle touch prevents any mixing, which is crucial for that highly visual appeal we are aiming for. If you love creamy dips, you might want to check out my amazing buffalo chicken dip recipe too.
How to Make Layered Dip Ahead of Time for Parties
Listen, planning a big gathering means you need to prep where you can, and I’ve mastered the art of making this star spangled layer dip ahead of schedule. The goal is to have everything ready so you just pull it out of the fridge and set it down when guests arrive. You can totally get this done the day before your event!
Here’s the trick: build every single layer up through the salsa and the cheddar cheese. Those bottom five layers are sturdy and actually get better mingling in the fridge overnight. What you leave off are the colors—the toppings! Cover the dip tightly right after the cheddar layer and stash it away. Then, just before your guests walk in the door, add your tomatoes, olives, blue cheese, and onion. It stays fresh, the colors pop, and you look like an absolute genius. For more make-ahead magic, check out my guide on mini quiches!
Serving and Storing This Easy Memorial Day Appetizer
Since this is a cold dip, serving it right is just as important as building it right. You want those layers to stay crisp and the dairy nice and cold, especially when you’re outside enjoying the holiday. Keep this star spangled layer dip chilled until the absolute last minute—I mean, set it on the table right as people start grabbing chips. It will hold up fine for about two hours once it’s out, thanks to those set layers we worked so hard on!
Transporting the Star Spangled Layer Dip Safely
This is my biggest rule for picnics and BBQs: never trust the ambient temperature in your car! If you made the dip ahead of time, put it into a reliable cooler packed with ice packs. Treat it like a precious item. Keeping it cold until you get to the party is key for both safety and making sure those colors stay bright and appealing. You don’t want a melted mess, do you? For recipes that handle the heat better, you might enjoy my spicy watermelon salsa side!
Frequently Asked Questions About Layered Dips
I get asked so many questions about making the perfect star spangled layer dip, especially when folks are looking for creative 4th of july dip ideas pinterest-worthy recipes! Here are a few common things I run into when people are planning their spread.
Can I use Greek yogurt instead of sour cream in this patriotic layer dip recipe?
You certainly can try! If you use Greek yogurt, you’ll get a tangier flavor, which I actually don’t mind. However, Greek yogurt is much thicker than regular sour cream, sometimes almost gluey once chilled. If you use it, try thinning it down just a tiny bit with a splash of milk while you mix in the taco seasoning. It won’t give you quite the same smooth spread as the original, but it’s a solid swap if you’re watching fat content.
What chips pair best with this dip?
Because this is such a hearty dip, you need something sturdy! Skip those thin, crispy chips—they just break off in the layers. I always recommend sturdy, restaurant-style tortilla chips. If you want to get really festive for your patriotic layer dip recipe, look for the lightly salted corn chips or even some sturdy pretzel chips if you want a nice salty crunch contrast to the creamy topping.
How long can this dip safely sit out at a barbecue?
Since this dip is full of sour cream and cream cheese, we need to be smart, especially when it’s hot outside. I always try to keep my dip sitting on a tray filled with ice, which really helps it stay cold longer. In direct summer heat, I’d say give it no more than two hours on the table before returning it to the cooler. Better safe than sorry when it comes to dairy!
Nutritional Estimates for Your Party Contribution
Now, I know what you’re thinking. When we’re focusing on flavor and ease for a party, tracking macros isn’t usually top of mind! But since I come from a science background, I always like to give those tracking their intake a little bit of peace of mind. This Star spangled layer dip is rich because it’s made with proper ingredients—real refried beans and cream cheese—so keep that in mind!
These numbers are just estimates based on using standard, non-fat-free ingredients throughout, as I recommend in the ingredient list. If you use lighter versions, your numbers will shift, but these reflect the version Nona would have put together!
- Serving Size: About 1 serving (which is honestly generous, given how much gets eaten!)
- Calories: Around 250
- Total Fat: About 20 grams
- Protein: Roughly 9 grams
- Carbohydrates: About 10 grams
It’s a delicious, satisfying appetizer. If you have any questions about these figures or want to chat about substitutions (like using Greek yogurt instead of sour cream, which we discussed earlier), please don’t hesitate to reach out via the contact page. Happy hosting!
Share Your Star Spangled Layer Dip Creations
Well, that’s it! You’ve built your beautiful, stress-free contribution to the gathering. Now comes the part Nona loved most: watching people enjoy the food! I honestly think that the real magic of any recipe happens when it’s shared, laughed over, and scraped clean by happy guests.
I would be so thrilled if you tried this recipe for your next cookout or holiday. Once you’ve made it and taken that mandatory picture of the layers before the first chip hits—please come back and tell me how it went! Did your blue cheese crumble look perfectly starry? Did you manage to keep it cold on the drive over?
Leave a rating right here on the recipe—five stars for a dish that didn’t stress you out is the best kind of five stars, right? Honest feedback helps everyone in our One Dish Universe community plan their next great party meal. I love reading your notes and seeing how you adapted things. You can always find out more about our simple cooking philosophy on the About page. Happy dipping, friends!
PrintStar Spangled Layer Dip for Gatherings

Make this easy Memorial Day appetizer, a visually striking, patriotic dip perfect for warm weather gatherings.
- Prep Time: 20 min
- Cook Time: 0 min
- Total Time: 20 min
- Yield: 8 servings 1x
- Category: Appetizer
- Method: Chilling
- Cuisine: American
- Diet: Vegetarian
Ingredients
- 1 (16 ounce) container sour cream
- 1 packet (1 ounce) taco seasoning mix
- 1 (15 ounce) can refried beans, not fat free
- 8 ounces cream cheese, softened
- 1 cup salsa, drained well
- 1 cup shredded cheddar cheese
- 1/2 cup sliced black olives
- 1/2 cup diced tomatoes
- 1/4 cup crumbled blue cheese
- 1/4 cup finely chopped red onion
Instructions
- In a medium bowl, mix the sour cream and taco seasoning until fully combined. This is your white layer.
- Spread the refried beans evenly over the bottom of a 9-inch pie plate or shallow serving dish. This forms the base layer.
- Spread the softened cream cheese evenly over the bean layer.
- Spread the seasoned sour cream mixture over the cream cheese layer.
- Spoon the drained salsa evenly over the sour cream layer.
- Sprinkle the shredded cheddar cheese over the salsa layer.
- Arrange the sliced black olives and diced tomatoes on top of the cheese layer to create the red and white visual elements.
- Sprinkle the crumbled blue cheese and chopped red onion over the top for the final blue accents.
- Cover the dip and chill for at least 2 hours before serving. This helps the layers set for transport.
Notes
- To make this layered dip ahead of time, prepare all layers except the final toppings (olives, tomatoes, blue cheese, onion). Cover tightly and refrigerate for up to 24 hours. Add the final toppings just before serving.
- For best results when transporting, keep the dip chilled in a cooler with ice packs until ready to serve.
- Use a good quality, well-drained salsa to prevent the dip from becoming watery.
Nutrition
- Serving Size: 1 serving
- Calories: 250
- Sugar: 3
- Sodium: 450
- Fat: 20
- Saturated Fat: 12
- Unsaturated Fat: 8
- Trans Fat: 0
- Carbohydrates: 10
- Fiber: 2
- Protein: 9
- Cholesterol: 50