
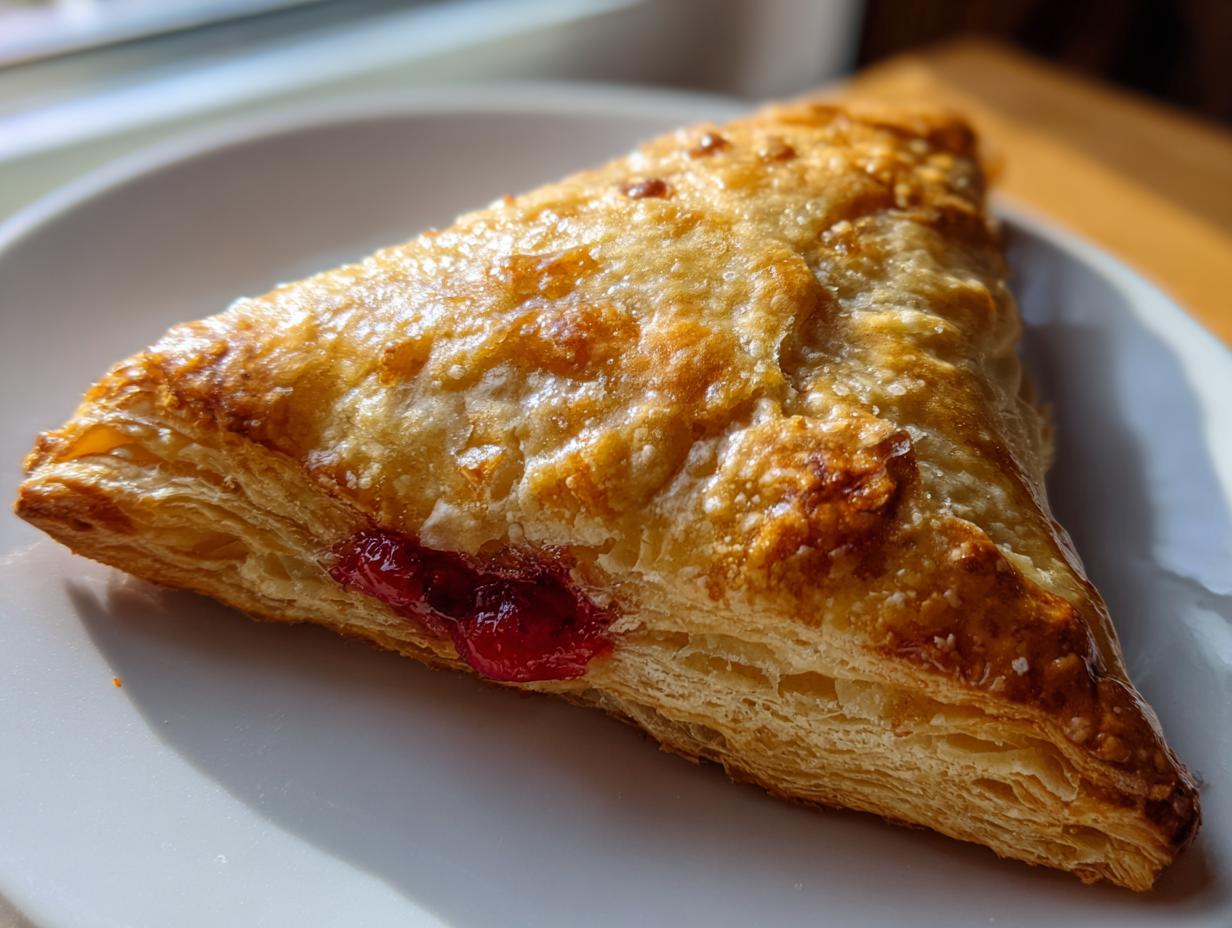
If you’re like me—and I bet you are—you want a show-stopping pastry for Mother’s Day brunch, but you absolutely do not have time for complicated folding or waiting hours for dough to rise. Honesty moment: I live by Elena Valdez’s core belief here at One Dish Universe—connection over complexity. That’s why I developed this absolute game-changer. We are taking store-bought, frozen puff pastry sheets and turning them into the flakiest, most beautiful **cherry turnovers** you’ve ever seen. Forget the stress; this is pure minimalist luxury that looks like you spent all morning fussing over it! You can check out more about our food philosophy over at Our Story.
- Why These Cherry Turnovers Are Your Zero-Stress Mother's Day Brunch Food Secret
- Gathering Your Ingredients for Perfect Puff Pastry Turnovers
- Step-by-Step Guide to Making Easy Cherry Dessert Pastries
- Tips for Success When Making Cherry Turnovers
- Serving Suggestions for Your Quick Pastries
- Storage and Reheating Instructions for Leftover Cherry Turnovers
- Frequently Asked Questions About Puff Pastry Turnovers
- Nutritional Estimates for Your Easy Cherry Dessert
- Share Your Minimalist Luxury Pastry Creations
Why These Cherry Turnovers Are Your Zero-Stress Mother’s Day Brunch Food Secret
When you’re hosting for Mother’s Day, the last thing you need is a complicated baking project looming over your morning. Trust me, I feel you! These **cherry turnovers** are designed specifically for that host who wants impressive results without the kitchen meltdown. It’s all about maximizing taste and presentation while cutting down work time drastically. You can seriously be prepping these while the coffee is brewing!
- Prep time is lightning fast—we are talking 10 minutes, tops.
- Cleanup? Almost nothing. We use parchment paper, so the sheets barely get dirty.
- They look like they came from a fancy bakery display case, which is fantastic for a **mothers day brunch food** centerpiece.
Minimalist Luxury: High Impact with Low Effort
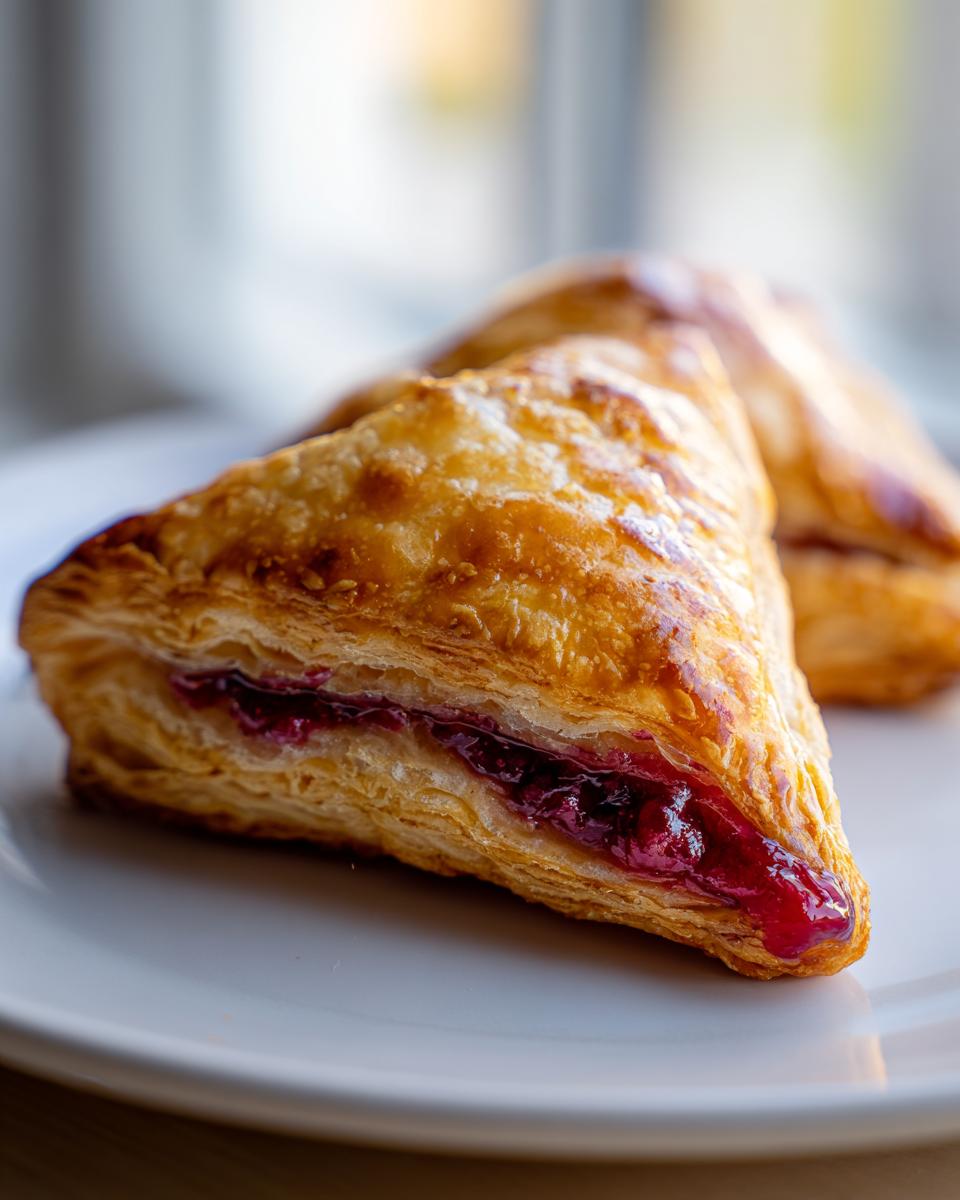
The secret weapon here is that frozen puff pastry, right out of the box. You don’t have to worry about laminating butter or folding dough 100 times; it’s all done for you! When it bakes, it puffs up into these gorgeous, shatteringly crisp layers. It proves you don’t need a huge budget or advanced skills to serve something that feels incredibly special and high-end. It’s practical elegance, plain and simple.
Gathering Your Ingredients for Perfect Puff Pastry Turnovers
Okay, are you ready? Because this recipe is almost insultingly easy. We are using basically four things, including the sugar sprinkles! Seriously, keep these ingredients on hand, and you’re set for any last-minute brunch hero moment. My Nona always said ingredients must be honest, and using quality pre-made stuff is just being smart, not lazy.
- One package (14.1 ounces) of those frozen puff pastry sheets—remember to thaw them first!
- One can (21 ounces) of cherry pie filling—no need to mess with fresh cherries here.
- One large egg, beaten well for our lovely wash.
- One tablespoon of plain granulated sugar to sprinkle on top for that sparkly crust.
Ingredient Notes and Substitutions for Frozen Cherry Recipes
Look, the most important thing you need to get right is the puff pastry. You *must* thaw it just according to the package directions. If it’s too cold, it won’t unfold right; if it’s too warm, it gets sticky, and you lose those perfect layers. Trust me on this one! For the cherry filling, use a nice, thick pie filling; the more solidified the fruit, the less likely it is to run everywhere. If you forgot to buy an egg for the wash, don’t panic! Just brush the tops with a tablespoon of milk or even a splash of water—it helps everything brown nicely.
Step-by-Step Guide to Making Easy Cherry Dessert Pastries
Alright, here is where we turn those squares of pastry into bona fide showstoppers. This is the assembly phase, and honestly, it’s where you can pour all your love in just a few minutes. Remember, we’re aiming for maximum impact for our **cherry turnovers**, so don’t rush the sealing part—that’s the secret to keeping all that glorious filling inside where it belongs!
Preparing the Puff Pastry and Filling
First things first: the oven needs to be roasting hot at 400°F. You want that instant puff! Gently unfold your thawed sheet onto a clean surface lightly dusted with flour. Now, slice it into four equal squares—nice and straight lines help them look professional. Take about two tablespoons of that thick cherry filling and dollop it right onto one half of the square. Crucially, leave a full inch border all the way around! You need that space for sealing, otherwise, the cherry juice will ooze out the sides.
Achieving Golden Perfection: Egg Wash and Baking
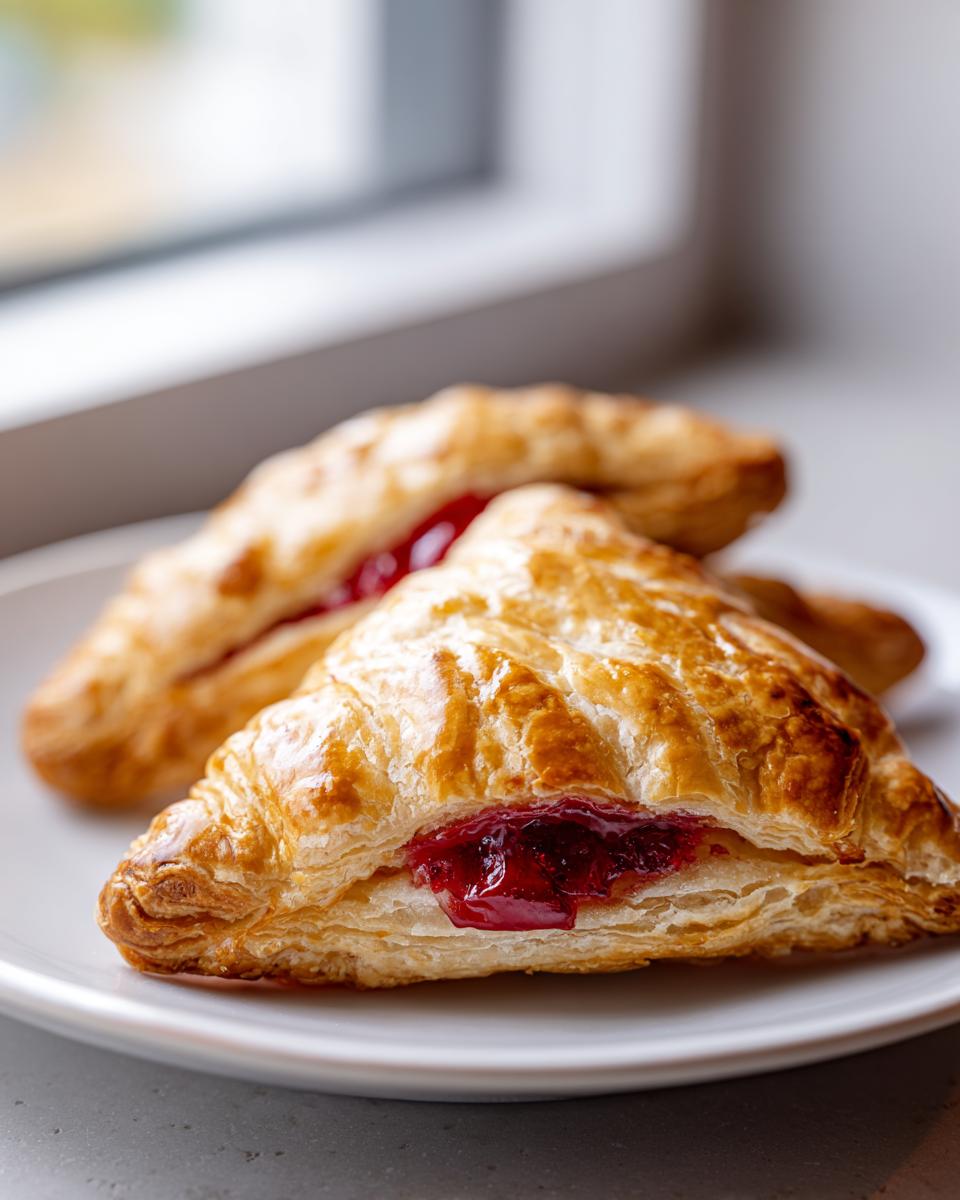
Once the filling is placed, fold the empty side over to make a perfect triangle. You *must* press those edges together tightly with your fingers first—really squeeze them! Then, grab a fork and crimp the edges all the way around. That fork press is your insurance policy against leaks! Place them on parchment-lined sheets. Now, brush the tops lightly with your beaten egg—this is what gives us that deep, beautiful shine. Sprinkle with sugar, and then, this is important, cut just two small slits in the top of each turnover. Those vents let the steam escape so the pastry doesn’t explode sideways. They go into that hot oven for about 18 to 20 minutes until they are totally puffed and golden brown. You’ll know they’re done when they look like something you’d pay too much for at a fancy cafe!
Tips for Success When Making Cherry Turnovers
Even though this is a cheat sheet recipe, we still need to make sure our **cherry turnovers** look and taste top-tier. My biggest piece of advice, learned from watching Nona battle temperamental pastry dough, is temperature control. If your kitchen is warm, don’t stress; just place the cut squares of pastry back in the fridge for about ten minutes before you add the filling. Cold dough equals maximal puff!
Secondly, we need to conquer the dreaded soggy bottom. Don’t let your turnovers sit on a bare metal sheet; you absolutely need parchment paper underneath them, as we mentioned. The parchment stops the melted butter from scorching on the pan and steaming the pastry base before it has a chance to crisp. And if you want truly jaw-dropping layers? Don’t overfill them! Two tablespoons is plenty to keep that filling contained and crisping up properly.
Serving Suggestions for Your Quick Pastries
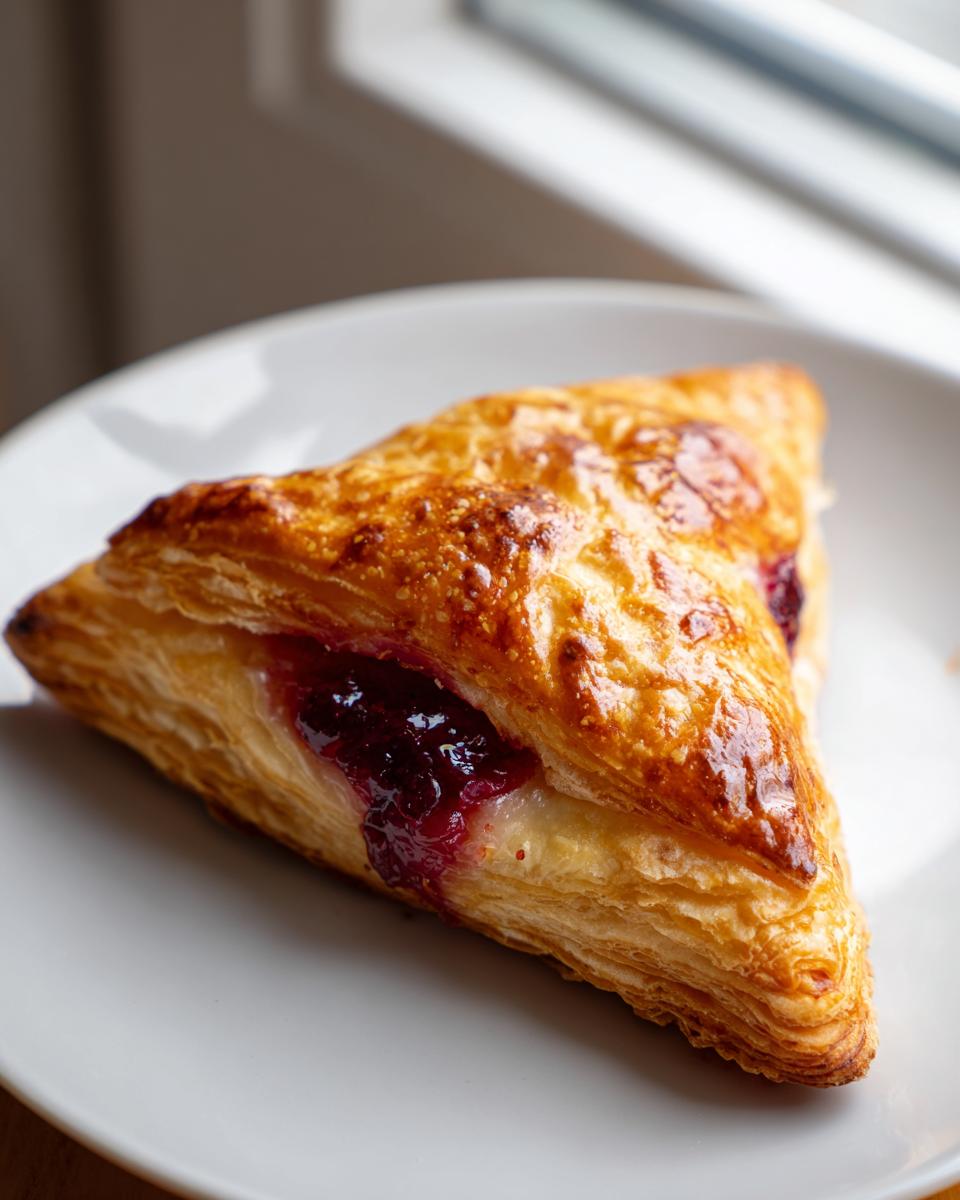
These **quick pastries** look amazing all by themselves, but a little fancy touch makes them perfect for brunch. If you’re serving them slightly warm, a tiny scoop of vanilla bean ice cream melting gently on the side feels incredibly luxurious. For a Mother’s Day spread, skip the heavy sauces and just dust them lightly with powdered sugar right before you bring them out. That clean, white contrast against the golden, flaky crust? So elegant! They’re also great totally cooled down with just a fresh cup of coffee. Easy and beautiful every time.
Storage and Reheating Instructions for Leftover Cherry Turnovers
Now, these **cherry turnovers** disappear fast, but if, by some miracle, you have any left over, don’t fret about storing them. Puff pastry hates moisture, so you need an airtight container that keeps the air out. You can usually keep them on the counter for a full day, maybe two, if your kitchen isn’t too humid. The real secret for leftovers is reheating them properly!
Please, please, please skip the microwave! It turns that gorgeous flaky crust instantly rubbery. Instead, pop them back in a 350°F oven for about five to eight minutes. That little blast of dry heat revives the crispiness beautifully and makes them taste fresh-baked again.
Frequently Asked Questions About Puff Pastry Turnovers
I always get a ton of questions when I post these, mostly because people are shocked they are this easy! I’ve gathered the most common ones here so you feel totally confident making these **puff pastry turnovers** for your next event. Whether you’re whipping these up for a busy weeknight or as part of your spread for a big **mothers day brunch food** gathering, these tips should help!
Can I make these cherry turnovers ahead of time?
Yes, you absolutely can! You can assemble the entire turnover—cut, fill, and seal—and then place them on the parchment-lined sheet. Cover that whole thing tightly with plastic wrap and tuck them into the fridge for up to 24 hours. If you plan on freezing them unbaked, wrap them super well and freeze them solid, then bake straight from frozen, adding about 5-8 extra minutes to the bake time. Never bake them ahead and store them, because the pastry gets sad!
What is the best way to prevent the filling from leaking out?
This is the biggest fear, right? We covered the essentials: always leave that one-inch border, and make sure you use your fingers *and* the fork to seal. Here’s my extra pro-tip from Elena’s playbook: if your kitchen is warm, after you crimp those triangles shut, put the whole tray of assembled turnovers into the freezer for just 15 minutes before they go into the hot oven. That cold shock helps the butter in the pastry solidify quickly, which locks in that filling way better when the heat hits it!
Nutritional Estimates for Your Easy Cherry Dessert
Now, I know most of us aren’t focused on the label when we’re whipping up a homemade treat for Mother’s Day, but I always like to give a general idea of what you’re eating. These estimates are for one turnover based on the ingredients listed. I pulled this data together so you know exactly what you’re serving up with this **easy cherry dessert**. Since you can read up on our data policies over at the Privacy Policy, feel free to glance over the serving size—it clocks in around 280 calories. Just remember, these baking estimates are always approximate!
Share Your Minimalist Luxury Pastry Creations
I absolutely love seeing how you bring these recipes into your homes! You’ve just conquered a fabulous, almost professional-looking bake with minimal stress, and I want to see the results of your **cherry turnovers**! Please tell me in the comments how they tasted and how much time you actually saved on cleanup. If you snapped a picture, tag us! Sharing simple joys like this is what One Dish Universe is all about. Head over to the Contact page if you have any baking questions for me!
PrintZero-Stress Cherry Turnovers with Frozen Puff Pastry

Create professional-looking cherry turnovers for Mother’s Day brunch using frozen puff pastry and canned filling. This recipe offers high impact with minimal effort.
- Prep Time: 10 min
- Cook Time: 20 min
- Total Time: 30 min
- Yield: 8 servings 1x
- Category: Dessert
- Method: Baking
- Cuisine: American
- Diet: Vegetarian
Ingredients
- 1 package (14.1 ounces) frozen puff pastry sheets, thawed according to package directions
- 1 can (21 ounces) cherry pie filling
- 1 large egg, beaten (for egg wash)
- 1 tablespoon granulated sugar (for sprinkling)
Instructions
- Preheat your oven to 400 degrees Fahrenheit (200 degrees Celsius). Line two baking sheets with parchment paper.
- Gently unfold one thawed puff pastry sheet onto a lightly floured surface. Cut the sheet into four equal squares.
- Spoon about two tablespoons of cherry pie filling onto one half of each square, leaving a one-inch border around the edges.
- Fold the empty half of the pastry over the filling to create a triangle shape. Press the edges firmly together with your fingers to seal. Crimp the edges with a fork for a decorative, secure seal. Repeat with the remaining pastry and filling.
- Place the turnovers onto the prepared baking sheets. Brush the tops of each turnover lightly with the beaten egg wash.
- Sprinkle the tops evenly with granulated sugar. Cut two small slits in the top of each turnover to allow steam to escape during baking.
- Bake for 18 to 20 minutes, or until the pastry is golden brown and puffed.
- Remove from the oven and let cool on the baking sheets for five minutes before transferring to a wire rack to cool slightly more. Serve warm or at room temperature.
Notes
- For a richer color, you can mix a tiny drop of red food coloring into your egg wash before brushing the pastry.
- If you want a glaze, mix 1/2 cup powdered sugar with 1 tablespoon of milk and drizzle over the cooled pastries.
- This recipe is a great option for easy cherry dessert when you need quick pastries.
Nutrition
- Serving Size: 1 turnover
- Calories: 280
- Sugar: 18
- Sodium: 250
- Fat: 17
- Saturated Fat: 6
- Unsaturated Fat: 11
- Trans Fat: 0
- Carbohydrates: 28
- Fiber: 1
- Protein: 3
- Cholesterol: 45