
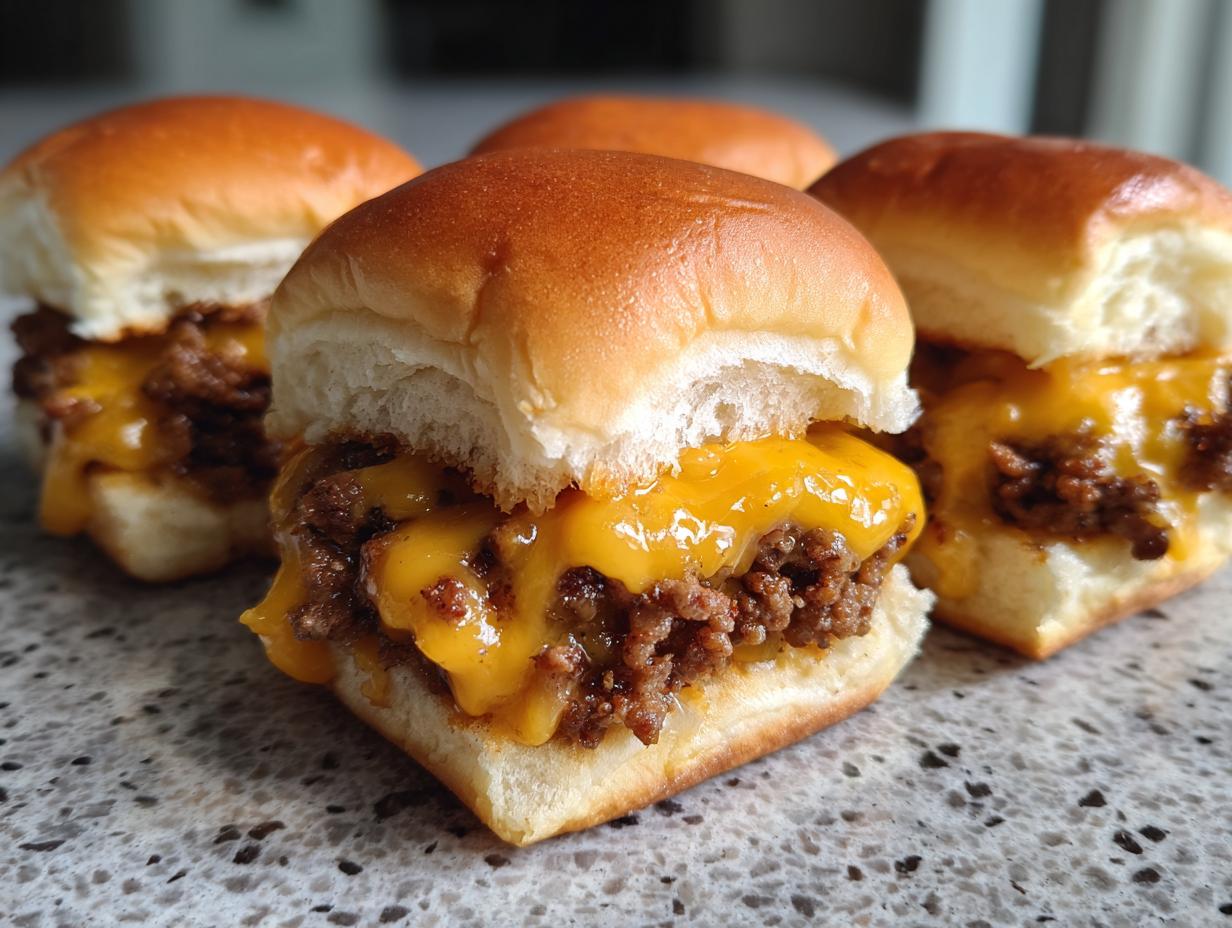
Planning a celebration where everyone looks fabulous in their graduation attire, but you’re secretly dreading the cleanup? I totally get it. Feeding a crowd elegantly shouldn’t mean spending the entire party trapped at the grill or drowning in dirty plates. That’s where my Nona’s wisdom truly shines: the best meals simplify life, they don’t complicate it. That’s why I love these simple, baked Cheeseburger sliders. They transform a classic favorite into a portion-controlled dream, perfect for guests who need an easy bite while they mingle. This recipe combines my background in food science—ensuring perfect texture every time—with the low-stress philosophy Nona taught me years ago in our busy Chicago kitchen. To learn more about why we focus on these simple, powerful meals, check out our story over at One Dish Universe.
- Why These Cheeseburger Sliders Are Your Low-Stress Gathering Secret Weapon
- Gathering Ingredients for Perfect Cheeseburger Sliders
- Step-by-Step Guide to Preparing Your Cheeseburger Sliders
- Tips for Making Gourmet Mini Burgers for a Crowd
- Make-Ahead Strategies for Your Graduation Party Menu
- Serving Suggestions to Complete Your Cheeseburger Sliders Spread
- Storage and Reheating Instructions for Leftover Cheeseburger Rolls
- Frequently Asked Questions About Easy Beef Sliders
- Nutritional Estimates for Your Portion-Controlled Cheeseburger Sliders
- Share Your One-Dish Universe Success
Why These Cheeseburger Sliders Are Your Low-Stress Gathering Secret Weapon
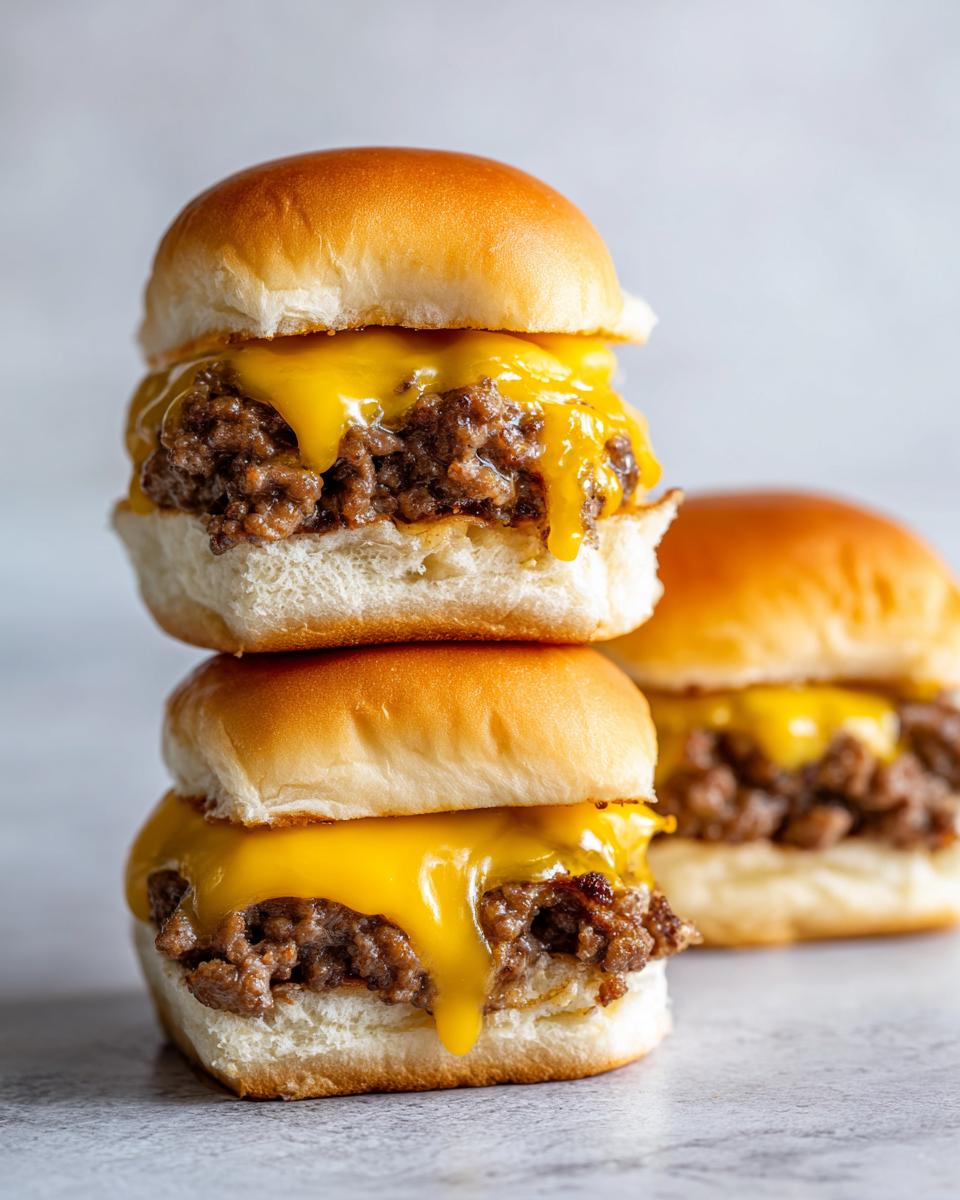
Hosting a big event is a joy, but watching your guests try to balance a giant plate, a drink, and a napkin while chatting? Forget it. These **cheeseburger sliders** were truly designed to fix that hosting headache. They are the ultimate **party burger recipe** because they solve the big three problems: they’re easy to make for **sliders for a crowd**, they’re clean to eat, and they come out of just one pan. This means you spend less time cleaning up grease and more time actually enjoying your guests. Trust me, once you make these, they become your go-to for any big, busy celebration. Need more ideas for simple meals that save you time? Take a peek at some simple weeknight dinners!
Perfect for Mingling: The Portion-Controlled Advantage of Cheeseburger Sliders
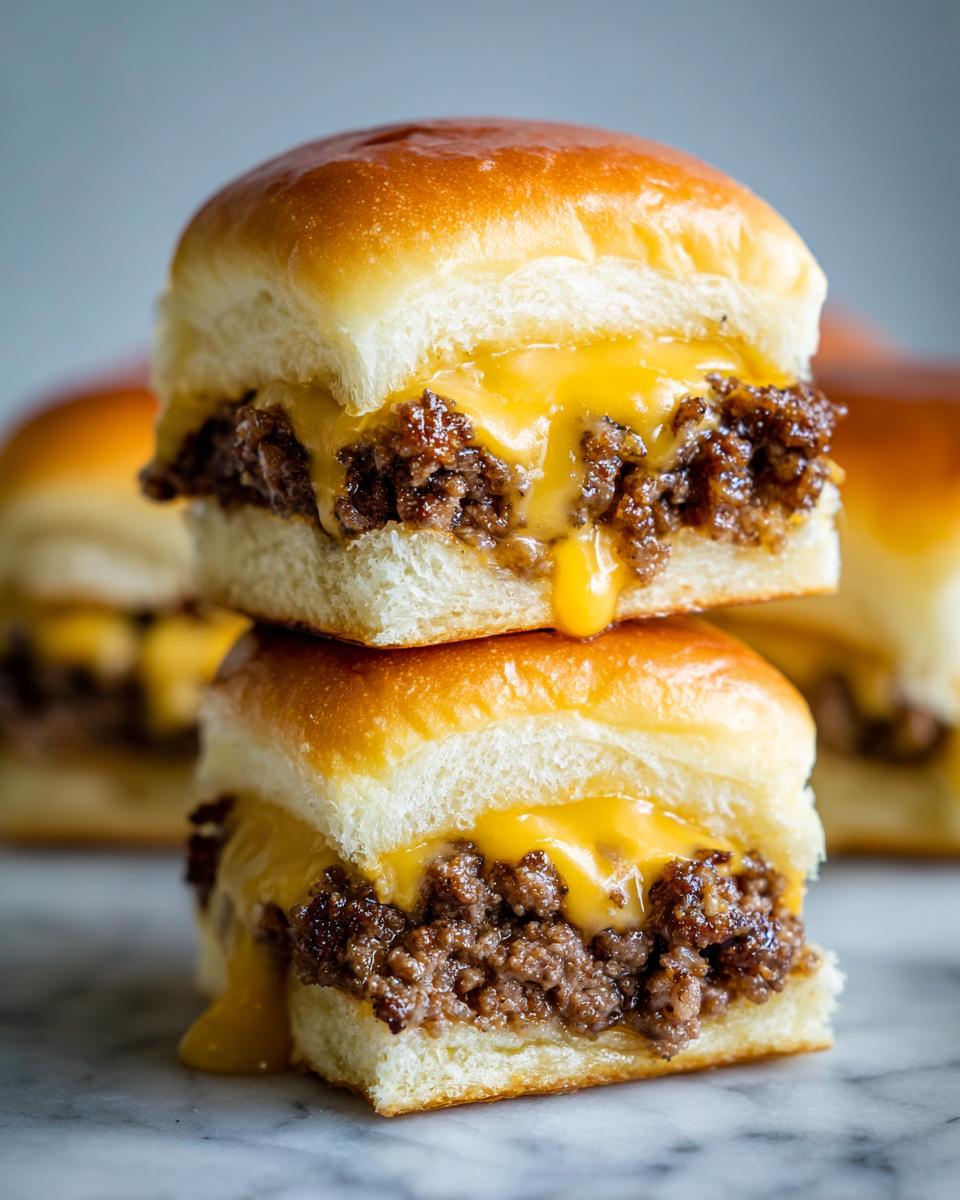
When everyone is dressed up for graduation or standing around chatting, nobody wants a full, drippy burger falling apart in their hands. That’s the magic here! Because these are perfectly **portion-controlled**, guests can easily pick one up with one hand. There’s far less risk of staining that formal attire. These **cheeseburger sliders** are designed for mobility and minimal mess, which is why they are better than any full-sized patty for a mingling crowd.
One-Pan Ease: Minimizing Cleanup for Your Next Event
If you’ve ever hosted, you know the cleanup nightmare. But because we cook the entire meat slab right in one baking dish, the mess is contained! The beef cooks evenly, the cheese melts perfectly underneath the top layer of rolls, and everything slices apart after baking. It’s true simplicity in action. Having only one dish to wash afterwards is a lifesaver, especially when you’re running around hosting!
Gathering Ingredients for Perfect Cheeseburger Sliders
When you’re making something as straightforward as these baked **cheeseburger sliders**, the quality of your raw ingredients really steps up to shine. Since we’re aiming for juicy flavor without adding tons of extra steps, we need just the right beef. My food science background tells me that using 80/20 ground beef is absolutely key here.
Essential Components for Flavorful Easy Beef Sliders
Don’t go searching for a million things! These **easy beef sliders** rely on pantry staples mixed right into the meat before it hits the oven. Here is what you’ll need to grab for about 12 perfect rolls:
- 1.5 lbs ground beef (80/20 recommended—seriously, that fat equals flavor!)
- 1 packet (1 oz) onion soup mix
- 1/4 cup water
- 1 teaspoon Worcestershire sauce
- 1 teaspoon garlic powder
- 1/2 teaspoon salt
- 1/4 teaspoon black pepper
- 12 slider buns (Hawaiian rolls style recommended—they bake beautifully together!)
- 12 slices cheddar or American cheese
- 1 tablespoon butter, melted
Step-by-Step Guide to Preparing Your Cheeseburger Sliders
Okay, now that we have the amazing ingredients ready to go, it’s time to put this simple **cheeseburger sliders** method to work! Honestly, this is where all the stress melts away. Because we bake this all together in one pan, there is no flipping, no turning big patties, and no standing over a hot stove worrying about undercooked centers. Everything cooks evenly! We’re using the oven, which makes sure the meat stays tender while it gets fully cooked. Just follow these steps closely, and you’ll have a tray full of perfect, cheesy mini burgers ready for your party guests. If you love easy, self-contained meals like this, you might want to check out my ideas for easy breakfast and brunch solutions too!
Mixing and Initial Bake for the Ground Beef Layer
First thing’s first, crank that oven up to 350 degrees F and lightly grease up a big 9×13 baking dish—that’s where all the magic happens. In a bowl, you need to gently combine your beef with the onion soup mix, water, Worcestershire, garlic powder, salt, and pepper. I really mean *gently*! Overmixing makes the meat tight, and we want these sliders tender. Once it’s just combined, press that whole mixture evenly into your greased pan as one big layer. Pop it into the preheated oven and bake for 15 minutes. When it comes out, carefully drain off any grease pooled in the bottom of the pan. That’s super important for keeping the bottom from getting greasy!
Adding Cheese and Final Bake for Melted Perfection on Your Cheeseburger Sliders
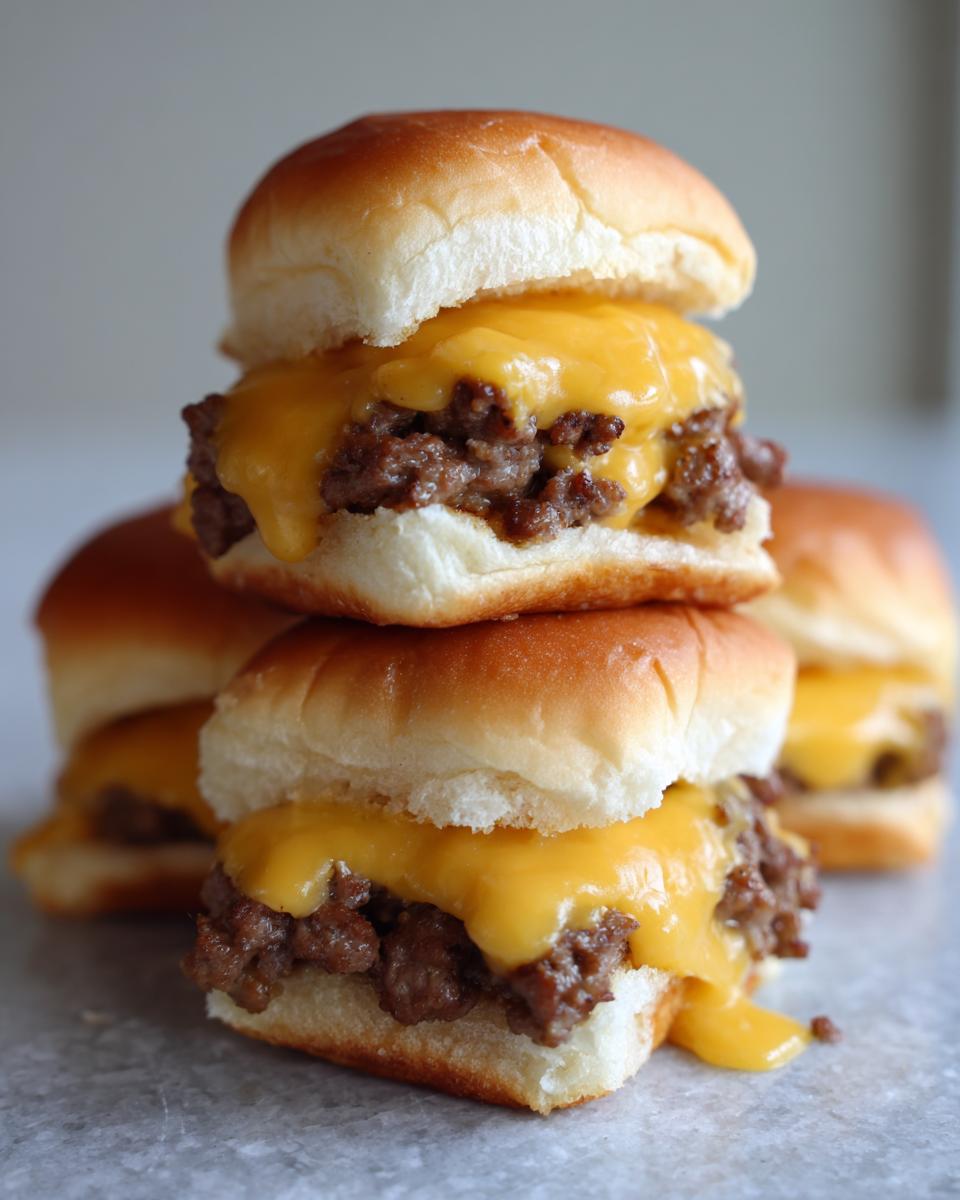
Once you’ve drained that grease, immediately put one slice of cheese right on top of that hot beef layer—don’t wait! Now, take the top halves of your slider buns and place them gently over the cheese. This traps the steam and really gets that cheese nice and melty while warming the bread. Brush the tops of those rolls with just a tiny bit of melted butter—it helps them get that beautiful light golden color. Return the whole dish to the oven for just 5 to 7 more minutes. You know it’s done when the cheese is oozing beautifully and the bun tops look lightly toasted. Let them sit for two minutes off heat, then slice right through the entire sheet to get your 12 perfect **cheeseburger sliders**!
Tips for Making Gourmet Mini Burgers for a Crowd
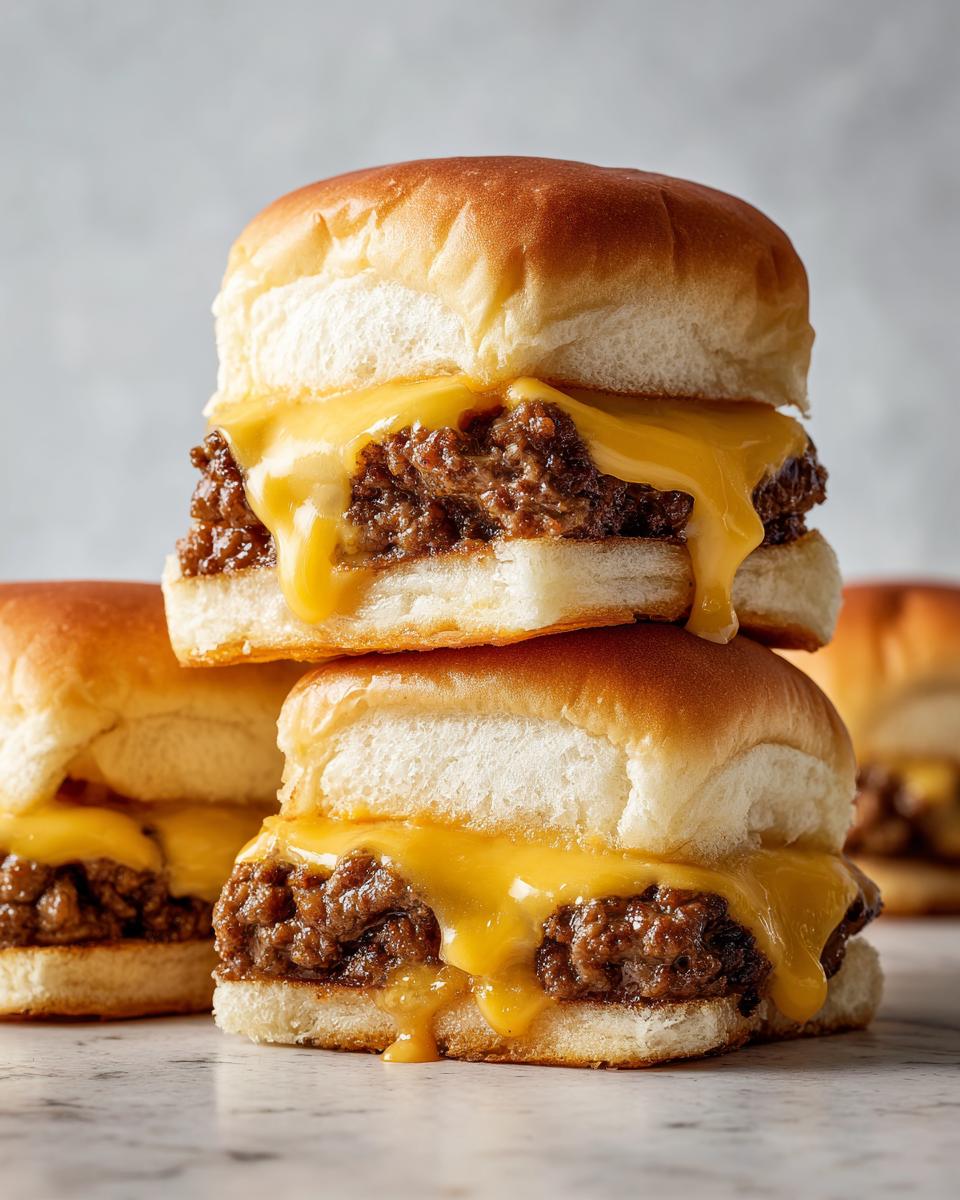
When you’re serving something as beloved as a burger, even small ones, you want them to feel special! Since this is a base recipe great for **cheeseburger sliders**, we can use a few tricks to push it into that elevated category without adding a ton of work. Remember, Nona always said simple food should still feel celebrated, especially at events like a **graduation party menu**. We are aiming for those **gourmet mini burgers** that people talk about long after the party ends!
Elevating Flavor: Toppings for Your Party Burger Recipe
If you want to impress without much effort, the toppings are where you win! Instead of just serving ketchup, try throwing some quick caramelized onions on top of the cheese before the final bake. A crisp dill pickle slice tucked right on top also gives you that necessary crunch and tang against the cheddar. For something truly bright to cut through the richness, you absolutely have to try whipping up a batch of my zesty mint gremolata—it’s amazing sprinkled over the top! These small additions transform your simple **party burger recipe** easily!
Adapting Cheeseburger Sliders for Different Cooking Methods
We love the oven for ease when feeding a crowd, but if the weather is great, you can absolutely adapt this for outdoor fun. For those perfect **memorial day grilling ideas**, you can cook the seasoned meat mixture right in a large cast-iron skillet right on the grill grates instead of the oven. Just follow the heating and timing the same way. Slice them up, add the cheese and buns, and put the lid on the grill for that final melt. That smokiness takes these **cheeseburger sliders** to a whole new level!
Make-Ahead Strategies for Your Graduation Party Menu
I know that for a big event like a graduation party, you simply cannot be stuck in the kitchen assembling food right when people arrive. That ruins the whole low-stress philosophy Nona always preached! The beauty of these **sliders for a crowd** is that the hard work can be done hours before anyone shows up. You assemble the seasoned beef, press it into the pan, and bake it completely—just stop before adding the cheese. If you’re looking for other fantastic make-ahead ideas that still feel elegant, you should see how I prep my little quiches for brunch; check out my guide on prep-ahead elegance brunch!
Once the meat is baked and drained, cover the dish and keep it ready. When it’s time to serve, pop it back into the hot oven to warm through. Add the cheese and the final buttered bun top for the last five minutes. This keeps your **party burger recipe** piping hot and fresh exactly when your guests are ready to eat!
Serving Suggestions to Complete Your Cheeseburger Sliders Spread
These baked **cheeseburger sliders** are fantastic on their own, but every great party spread needs a couple of easy sides that don’t require a ton of last-minute stirring. Since we already saved so much time with the main course, we can afford a simple vegetable or two. Imagine these little burgers next to something vibrant! For a quick, elegant green, you can’t beat my recipe for lemon parmesan roasted asparagus—it feels fancy, but it’s done in 15 minutes. And if you want something truly crowd-pleasing that stays warm nicely, my easy take on Elote (Mexican Street Corn) is always a huge hit with graduation crowds!
Storage and Reheating Instructions for Leftover Cheeseburger Rolls
Look, if you manage to have any of these delicious **cheeseburger rolls** left over—which is a miracle in itself—you need to store them correctly so the bread doesn’t get soggy overnight. Once they are completely cool, wrap the entire section tightly in plastic wrap or aluminum foil, or better yet, transfer them into an airtight container. They’ll keep great in the fridge for about three to four days. Reheating is key! Don’t microwave them unless you absolutely have to; they get chewy. I recommend popping them back into a 350-degree oven for about 8 to 10 minutes until heated through. That little bit of dry heat keeps the bread from turning into mush!
Frequently Asked Questions About Easy Beef Sliders
I always get questions about scale and substitutions when people start making these baked **cheeseburger sliders** for the first time. It’s smart thinking! You want to make sure they turn out perfect, even when you’re doubling or tripling the batch for **sliders for a crowd**. Don’t worry; these answers tackle the most common hiccups so you can host stress-free! If you are looking for other quick meal ideas later, check out my advice for quick healthy lunches!
What is the best substitute for Hawaiian rolls when making these sliders for a crowd?
Honestly, they are my absolute favorite because they are soft and slightly sweet. If you can’t find them, look for soft potato rolls or even small, square brioche buns. You want that tenderness so they compress nicely!
Can I use ground turkey instead of beef for these cheeseburger sliders?
Yes, you totally can make **cheeseburger sliders** with ground turkey! Because turkey is leaner, it dries out faster. I suggest mixing in an extra tablespoon of water or even a splash of that Worcestershire sauce into the meat mixture to help keep things moist.
How far in advance can I mix the ground beef mixture?
You can mix the seasoned ground beef up to one day ahead of time. Just keep it covered tightly in the fridge in the baking pan. Remember, you only bake it the first time and add the cheese and rolls right before your guests arrive!
Nutritional Estimates for Your Portion-Controlled Cheeseburger Sliders
Now, I’m not a dietitian, but because of my background in food science, I know how important it is to have a general idea of what everyone is eating, especially when planning a large **graduation party menu**. The beauty of these **cheeseburger sliders** is that they are portion-controlled, which helps with mindful eating! Please remember these numbers are just solid estimates based on 80/20 beef and standard processed cheese slices. We are looking at about 300 calories per slider, focusing on satisfying protein and fat for a filling appetizer or main course.
Share Your One-Dish Universe Success
Well, that’s it! I truly hope these **cheeseburger sliders** help you host your next big get-together without spending the whole day chained to the kitchen. Feeding a crowd should feel like a celebration, not a chore, and these one-pan wonders really deliver that promise. Honestly, seeing your photos is my favorite part of running this site—it proves that simple cooking really works!
If you made these and they were a hit at your **graduation party menu** or your **memorial day grilling ideas**, please come back and give the recipe a quick rating below! I would absolutely love to see how you customized them. Did you load them up with caramelized onions, or did you keep them classic? Drop me a note or send a picture through the contact page. Let’s keep sharing the joy of easy, delicious food together!
PrintEasy Cheeseburger Sliders for a Crowd
Make these simple, portion-controlled gourmet mini burgers perfect for your next gathering. They are easy to eat while mingling and reduce cleanup.
- Prep Time: 10 min
- Cook Time: 22 min
- Total Time: 32 min
- Yield: 12 sliders 1x
- Category: Main Course
- Method: Baking
- Cuisine: American
- Diet: Low Fat
Ingredients
- 1.5 lbs ground beef (80/20 recommended)
- 1 packet (1 oz) onion soup mix
- 1/4 cup water
- 1 teaspoon Worcestershire sauce
- 1 teaspoon garlic powder
- 1/2 teaspoon salt
- 1/4 teaspoon black pepper
- 12 slider buns (Hawaiian rolls style recommended)
- 12 slices cheddar or American cheese
- 1 tablespoon butter, melted
Instructions
- Preheat your oven to 350 degrees F. Lightly grease a 9×13 inch baking dish.
- In a medium bowl, combine the ground beef, onion soup mix, water, Worcestershire sauce, garlic powder, salt, and pepper. Mix gently until just combined; do not overmix.
- Press the meat mixture evenly into the prepared baking dish, forming a single layer that fits the pan dimensions.
- Bake the beef for 15 minutes. Drain off any excess grease from the pan.
- Remove the pan from the oven. Place one slice of cheese on top of the cooked beef layer.
- Carefully place the top halves of the slider buns over the cheese. Brush the tops of the buns lightly with melted butter.
- Return the dish to the oven and bake for another 5 to 7 minutes, or until the cheese is fully melted and the tops of the rolls are lightly golden.
- Remove from the oven. Let rest for 2 minutes. Slice the entire sheet of beef and buns into 12 individual sliders. Serve immediately.
Notes
- For a more gourmet mini burgers experience, top with caramelized onions or a pickle slice before serving.
- If you are making these for a large graduation party menu, you can assemble the meat and bake it ahead of time, adding the cheese and final bake just before serving.
- These work well for Memorial Day grilling ideas if you cook the meat mixture in a large cast iron skillet on the grill instead of the oven.
Nutrition
- Serving Size: 1 slider
- Calories: 300
- Sugar: 4
- Sodium: 550
- Fat: 18
- Saturated Fat: 8
- Unsaturated Fat: 10
- Trans Fat: 0.5
- Carbohydrates: 18
- Fiber: 1
- Protein: 17
- Cholesterol: 60