
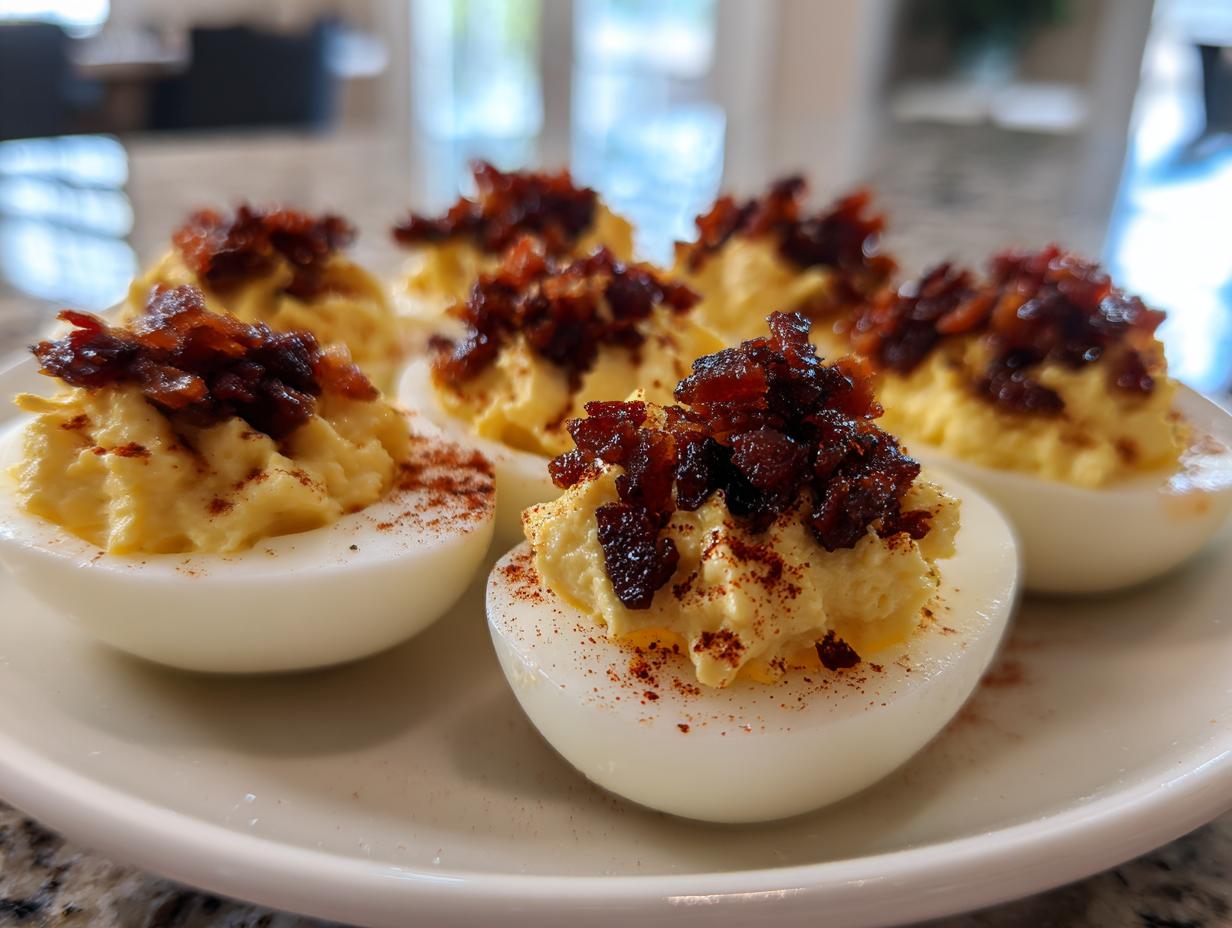
Graduation season means big family gatherings, and while I love Nona’s core philosophy—that food should bring us together without causing stress—sometimes those familiar appetizers need a little sparkle. We all love a classic deviled egg, right? They’re creamy, they’re dependable, but for a bigger celebration, they deserve an upgrade. That’s where the magic of **deviled eggs with candied bacon** comes into play! Trust me, this sweet-and-salty combination takes humble eggs to gourmet status immediately. It’s about honoring those cherished gathering moments Nona always created, but streamlining the elegance. As you can read more about our mission here, we focus on big flavor without the fuss. We are leveling up the appetizer game here while keeping the prep realistic for a busy host. It’s the perfect balance of easy and impressive.
- Why You Will Make These Deviled Eggs with Candied Bacon Again and Again
- Gathering Ingredients for Gourmet Deviled Eggs Recipe
- Mastering How to Candy Bacon for Deviled Eggs
- Preparing the Creamy Filling for Deviled Eggs with Bacon Topping
- Step-by-Step Assembly of Your Deviled Eggs with Candied Bacon
- Tips for Success with Your Deviled Eggs with Candied Bacon
- Storage and Serving Suggestions for the Best Party Appetizers 2026
- Frequently Asked Questions About Deviled Eggs with Candied Bacon
- Nutritional Estimates for Deviled Eggs with Candied Bacon
Why You Will Make These Deviled Eggs with Candied Bacon Again and Again
If you’re looking for something that always gets talked about at a party, forget the boring dips! These aren’t just average picnic eggs; this is an elevated appetizer you’ll want to feature yearly. We’re hitting on that perfect flavor contrast that modern entertaining demands. These are genuinely what I consider some of the **best party appetizers 2026** has to offer because they taste luxurious but only require a few extra steps.
- They offer an immediate ‘wow’ factor with zero extra work once the bacon is done.
- The creamy, tangy filling acts as the perfect smooth base for the intense topping.
- They are sturdy enough to sit out for a bit without getting watery or sloppy.
Sweet and Salty Perfection
Oh, the texture! It’s the main event here. The filling is classic—that bright, sharp hint of Dijon that cuts through the richness. But when you bite into that piece of candied bacon? You get that satisfying crackle followed by a deep, smoky sweetness from the maple and brown sugar. It’s salty, it’s sweet, and it just balances out so beautifully. It makes you rethink every deviled egg you’ve ever eaten!
Impressive Yet Simple Presentation
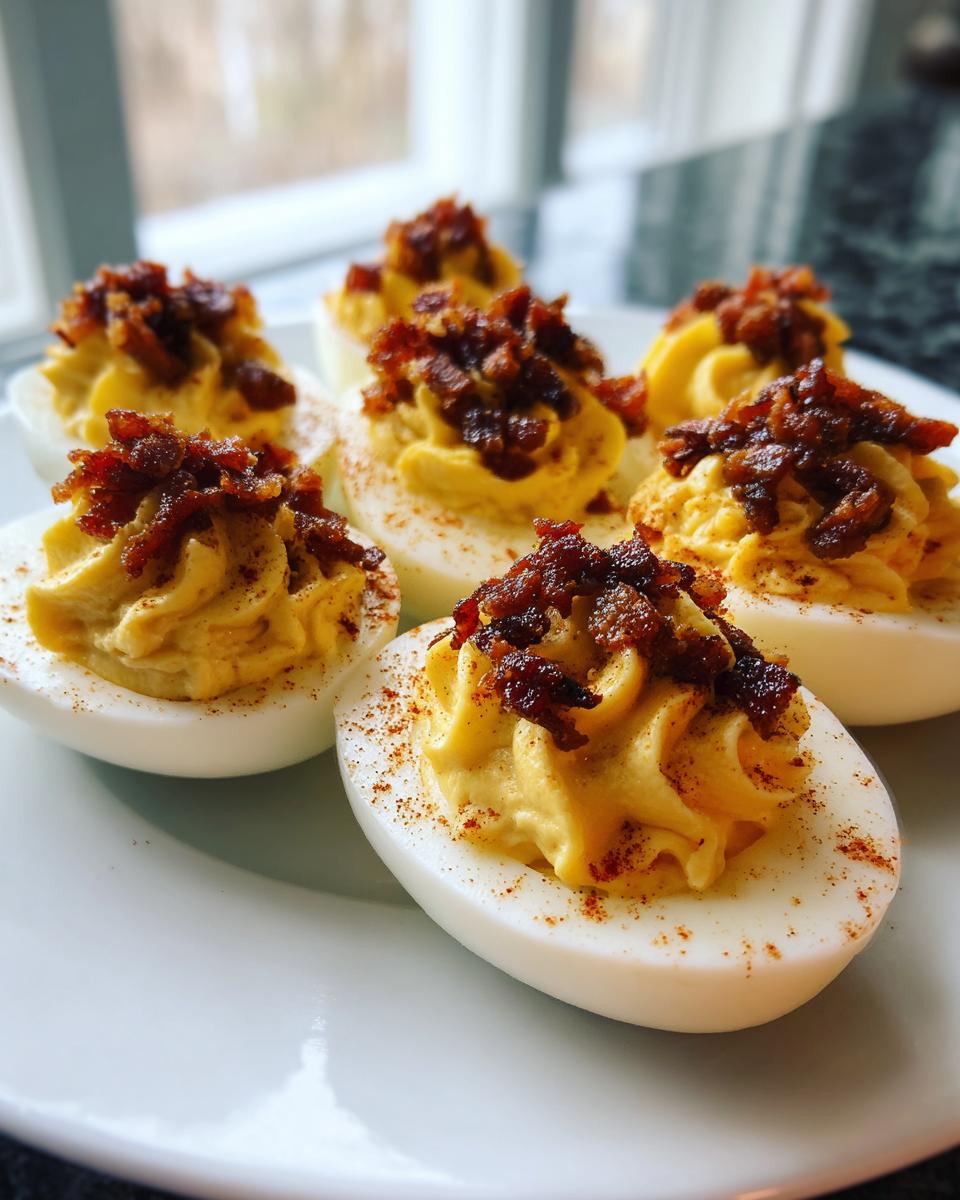
You know how I feel: we want the food to look beautiful, but we don’t want to spend all day crafting tiny edible flowers. These eggs nail **classic food aesthetics** naturally. The deep amber color of the bacon contrasts so nicely with the pale yellow filling and the pop of paprika. It looks like you spent hours on them, but honestly, the magic is all in that bacon step. People rarely expect that level of crunch and sweetness!
Gathering Ingredients for Gourmet Deviled Eggs Recipe
Okay, let’s get everything measured out. Remember, Nona always said that ingredient quality is half the battle, especially when you’re trying to achieve that **gourmet deviled eggs recipe** flavor. Since we aren’t dealing with a huge list, organization is easy. Having everything ready means we can focus on the actual cooking and mixing, which keeps stress levels low!
Here is exactly what you will need for 24 beautiful halves of these delicious eggs:
- 12 large eggs (The foundation—make sure they’re fresh!)
- 4 slices thick-cut bacon (Don’t skimp here; we need that substance for candying!)
- 2 tablespoons brown sugar
- 1 teaspoon maple syrup
- 1/2 cup mayonnaise
- 1 tablespoon Dijon mustard
- 1 teaspoon white vinegar
- 1/4 teaspoon salt
- 1/8 teaspoon black pepper
- Pinch of paprika for garnish (For that final color pop!)
See? It’s all straightforward stuff you probably have right now, except maybe the thick-cut bacon, which is totally worth the trip to the store for this recipe!
Mastering How to Candy Bacon for Deviled Eggs
This is the non-negotiable step that elevates everything! We are turning regular bacon into shatteringly crisp, sweet jewels for our topping. If you want to know exactly **how to candy bacon for deviled eggs**, the secret is in the two-ingredient glaze and keeping a very close eye on it. I remember messing this up the first time—the sugar burned fast! We wipe the strips clean, lay them flat on parchment paper, and brush them generously with the mix of brown sugar and maple syrup. This mixture creates that sticky, caramelized shell.
Baking Tips for Perfectly Caramelized Bacon
We’re sending this into a hot oven because we want the fat to render out while the sugar melts and turns golden. Set your oven to 400°F (200°C) and bake for about 12 to 15 minutes. But here’s my pro-tip: watch it like a hawk those last five minutes! It goes from perfect to burnt toast in seconds. Once it’s deep amber and bubbly, pull it out immediately and transfer it to a wire rack to cool down completely. If you chop it while it’s warm, it won’t have that necessary crunch, and that beautiful texture is what makes the **deviled eggs with candied bacon** so amazing when piled on top.
Preparing the Creamy Filling for Deviled Eggs with Bacon Topping
Now that our bacon is cooling and getting gloriously crisp, we turn our attention to the filling. This is where we make sure we hit that smooth, luxurious texture folks expect from a **gourmet deviled eggs recipe**. First things first: slice those hard-boiled eggs in half, carefully scoop out the yolks, and run them through a fine-mesh sieve into a clean bowl. Yes, I know, sieving sounds fussy, but trust me! If you are aiming for that professional, silky smooth texture for your **deviled eggs with candied bacon**, running those yolks through first makes a world of difference!
Once they are mashed or sieved, add in all your other creamy binders: the mayonnaise, the zing of the Dijon mustard, that tiny bit of vinegar for brightness, salt, and pepper. Mix it all up until it’s totally homogenous—no lumps allowed! If you have a particularly fussy crowd or just want the absolute best texture, pressing the yolks through the sieve is Nona’s trick for next-level smoothness.
If you’re looking for other ways to elevate a simple base, I actually have a fantastic recipe for a mint gremolata sometime that works wonders on savory appetizers too, but for these eggs, creamy and rich is the mission. Taste it here—does it need just a touch more tang? Adjust before moving on to the filling stage!
Step-by-Step Assembly of Your Deviled Eggs with Candied Bacon
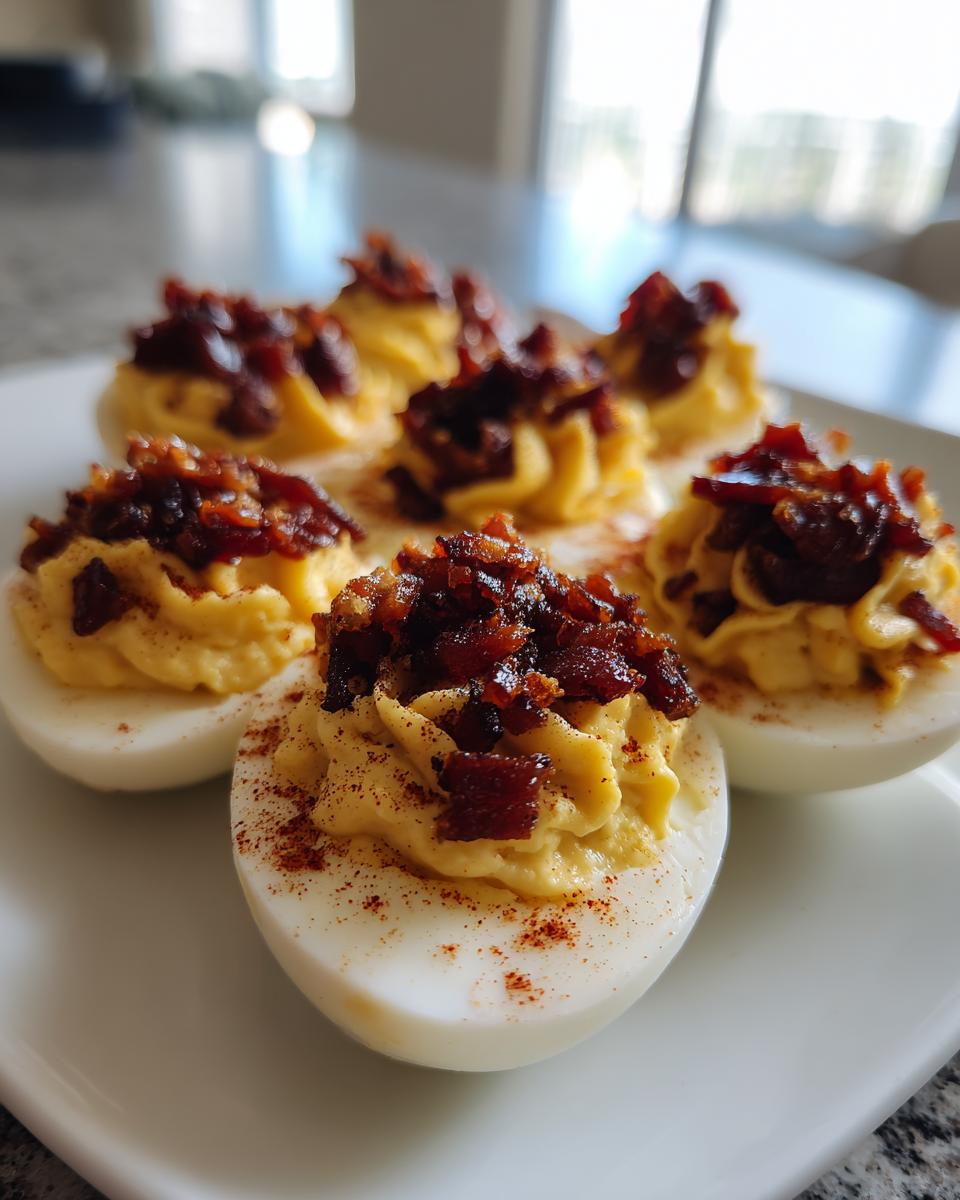
The hard part is over! The eggs are boiled, the filling is perfectly silky, and our candied bacon is cooled and ready to chop into those signature salty-sweet crumbles. Now, we just need to marry these elements together for the final presentation of your **deviled eggs with candied bacon**. Once the bacon is totally cool—I mean rock hard—use a sharp knife to chop it into small pieces. You want bits, not dust, so make sure your chopping is intentional.
Take those gorgeous, peeled egg white halves and arrange them on your serving platter. You can use a small spoon to gently mound the yolk mixture back into the whites, giving them a nice little dome shape. If you want to look extra fancy for graduation parties, grab a piping bag fitted with a large star tip. But honestly? A clean teaspoon works perfectly fine; just take your time making sure the filling is pretty and peaked. We want that little valley in the center ready for our topping!
Finishing Touches and Garnish
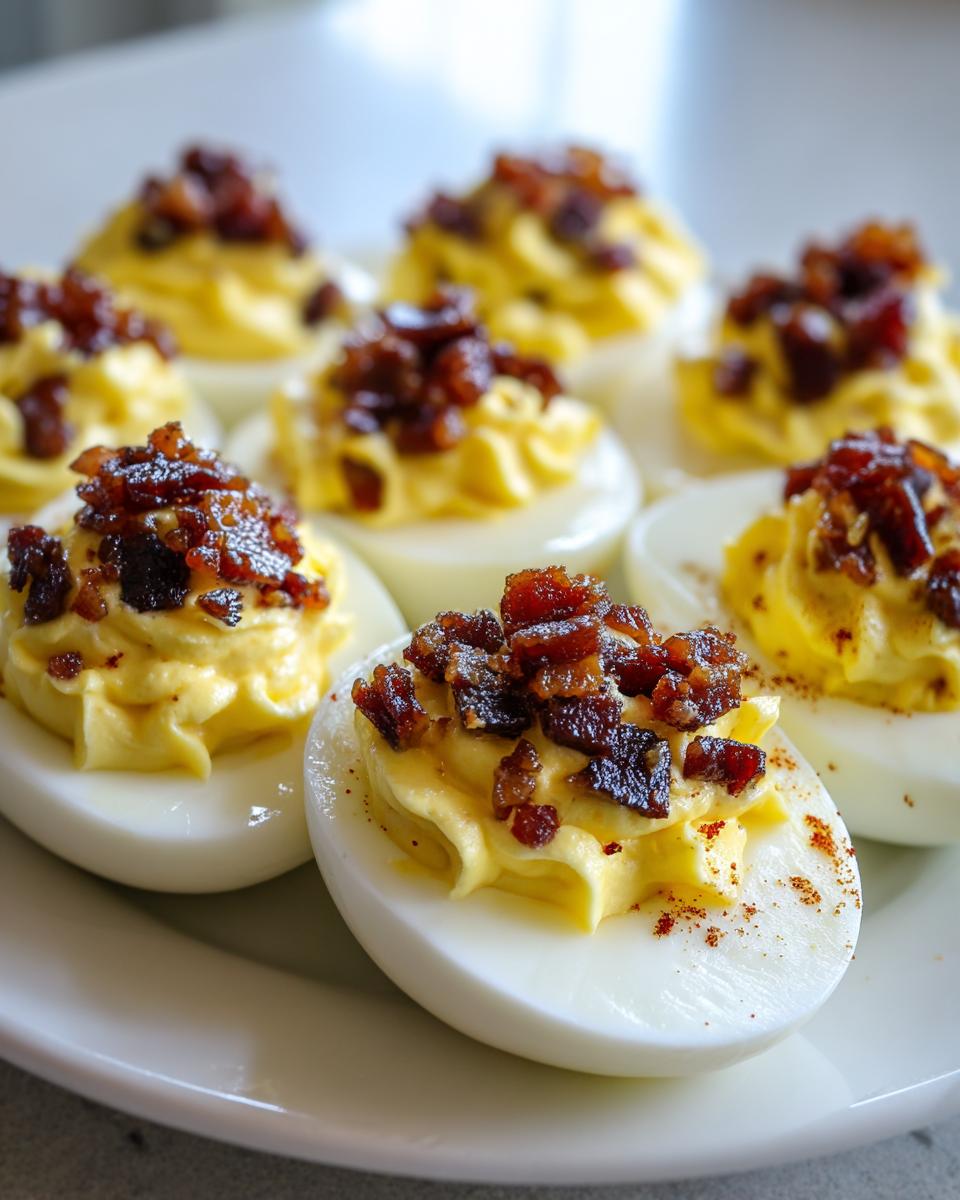
This final stage is purely aesthetic, but it’s what makes people stop in their tracks. Once the filling is securely in place, it’s time for the main event. Gently take your chopped candied bacon and sprinkle a modest amount right on top of the yolk mound. Just enough to give that crunch with every bite, but don’t bury that beautiful creamy swirl!
To finish off the look and honor all those **classic food aesthetics**, grab that little container of paprika. Take a tiny pinch between your thumb and forefinger and dust it lightly over the top of the bacon and filling. That touch of red against the yellow and brown is just stunning! Seriously, these **deviled eggs with candied bacon** look like they belong in a fancy catering display, and you made them while barely breaking a sweat!
Tips for Success with Your Deviled Eggs with Candied Bacon
Nona always reminded me that the best way to enjoy a party is to actually *be* at the party, not stuck frantically trying to finish prep work! That’s why I love recipes where you can build components ahead of time. For these delicious **deviled eggs with bacon topping**, you can absolutely streamline your game day. When I was consulting, I taught busy clients that planning the timing is everything!
- Prep the Eggs Early: You can hard-boil and peel your eggs a full day ahead of time. Store the peeled whites and mashed yolks (before adding the binder ingredients) separately in airtight containers in the fridge. This eliminates the messiest part of the process right before guests arrive.
- Cool the Bacon Completely: This isn’t optional for texture! Make sure your candied bacon cools completely on a wire rack. If it’s even slightly warm when you chop it, it will just turn into sticky fragments rather than that perfect crunchy topping.
- Sieve for Ultra-Smoothness: If you *really* want that professional, almost whipped texture to your filling—the kind that says **gourmet deviled eggs recipe**—I highly recommend pressing your mashed yolks through a fine-mesh sieve before mixing in the mayonnaise and mustard. It makes a big difference!
- The Nona Rule for Less Stress: Nona always said, “If you’re making small appetizers, make the messy parts the day before.” Mixing the yolk filling (mayo, mustard, vinegar) can be done the morning of the party. Just cover it tightly. This aligns perfectly with our goal here at One Dish Universe: making weeknight-level simplicity count for party food, too!
- Chop Just Before Serving: While the bacon lasts well, only chop it right before you fill the eggs. This ensures the maximum crunch and prevents the sugar from weeping onto the filling too early.
Storage and Serving Suggestions for the Best Party Appetizers 2026
Hosting a big event means you need to think about logistics, right? These **deviled eggs with candied bacon** are certainly worthy of being called the **best party appetizers 2026** throws at us, but they aren’t meant to sit on the counter for eight hours! I always recommend assembling these no more than two hours before your guests arrive. Eggs are delicate, and we want that filling to look fresh, not weepy.
If you absolutely must prep ahead—and I totally get it, Nona taught me to make things easier!—store the components separately. Keep the hard-boiled whites covered in the fridge. Store the creamy yolk filling in a piping bag, sealed tightly. And keep that amazing candied bacon topping in a completely separate, airtight container at room temperature (it holds its crunch best that way!). You combine them right before the party starts.
When it comes to serving these beauties, think about what cuts through that richness. Because we have a sweet, salty, and creamy profile, you want something sharp or bubbly on the side. I often pair them with a simple platter of bright, acidic marinated vegetables—think pickled carrots or cornichons. Or, if you are serving drinks, these pair shockingly well with a crisp, slightly tart dry cider or even some prosecco. It really cleanses the palate after that rich yolk and salty crunch. For further make-ahead elegance for other events, you might want to look at how I handle mini quiches, which are much easier to store post-assembly!
Frequently Asked Questions About Deviled Eggs with Candied Bacon
I know you’re going to love making these, but sometimes you have little tweaks you need to make based on what you have on hand. Don’t worry; these are just guidelines, not hard and fast rules! If you have a question, chances are somebody else does too. We always want to make sure you feel confident tackling any **deviled eggs with bacon topping** situation!
Can I make the candied bacon topping a day ahead?
Yes, you absolutely can make the candied bacon a day ahead! This is one of my time-saving secrets. However, you must store it correctly to keep that amazing crunch. Once it’s completely cooled from the baking sheet, break it up and store it in a container that is *not* totally airtight—like a canister with a slightly loose lid, or even in a sealed Ziploc bag with the air pressed out but not sealed shut. Any condensation will make it soggy, so airflow is your friend here until crunch time!
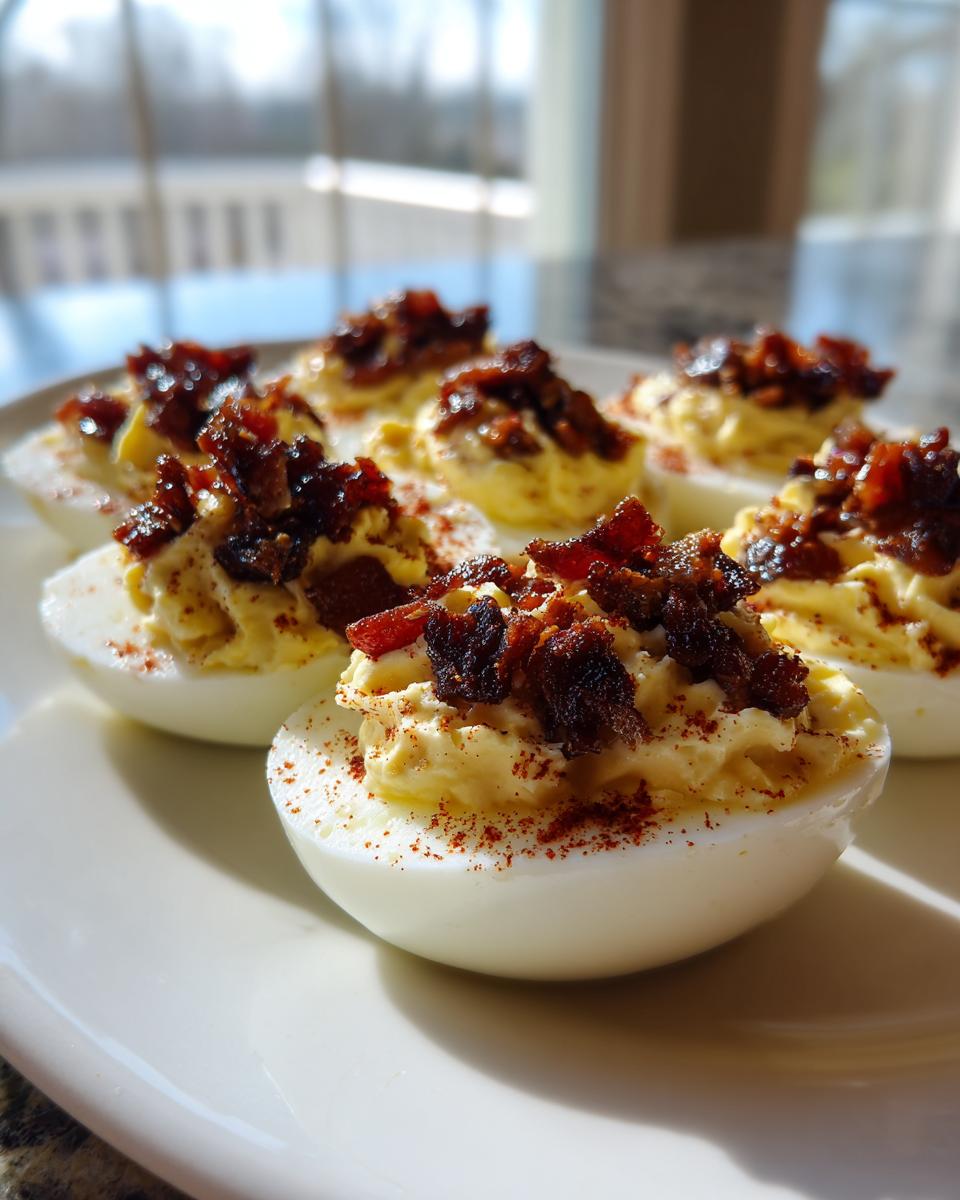
What is the best way to achieve classic food aesthetics in presentation?
To really nail those **classic food aesthetics**, it comes down to symmetry and color contrast. First, try to make sure all your egg white halves line up neatly on the platter, facing the same direction. Second, piping the filling always looks fancier than scooping, but if you spoon it, try to make a small, soft peak right in the middle. Then, when you sprinkle the paprika and lay down the chopped bacon, make sure the colors pop against the white and yellow. A light, deliberate sprinkle of paprika looks professional compared to a heavy dusting.
If I don’t have Dijon mustard, what’s a good substitute?
That’s a great question about substitutions! Dijon mustard is my go-to because it’s sharp and tangy without the sweetness of yellow mustard. If you are out, you can use a teaspoon of plain yellow mustard, but you might want to add an extra tiny dash of vinegar (maybe another 1/4 teaspoon) to keep that necessary acidic bite that cuts through the creaminess. Don’t skip the tang, or your **gourmet deviled eggs recipe** filling will taste flat!
Can I use miniature bacon bits instead of candying my own?
Oh, I understand the temptation to shortcut! But I strongly advise against it if you want this specific flavor profile. Store-bought bits are usually just salty and smoky, and they don’t have that essential sweet crunch we are aiming for in our **deviled eggs with candied bacon**. The candying step takes maybe 15 minutes, and it transforms the whole appetizer. It is definitely worth putting in the effort for that signature flavor!
If you ever have feedback or need more help with any of my recipes, please don’t hesitate to reach out to us on contact page!
Nutritional Estimates for Deviled Eggs with Candied Bacon
I know so many of you are focused on balancing indulgence with healthy eating, even when hosting! Nona never worried about macros, but I certainly do now, having studied nutrition, and I want you to feel good about serving these crowd-pleasers. It’s always important to remember that these numbers are estimates—they change based on the brand of mayonnaise you use, how thick your bacon slices are, and how much sugar actually sticks during the candying process.
These estimates are based on the recipe yielding 24 halves, so the serving size below accounts for two halves per person.
Here are the estimated nutritional details:
- Serving Size: 2 halves
- Calories: 110
- Sugar: 2g
- Sodium: 150mg
- Fat: 9g
- Saturated Fat: 3g
- Unsaturated Fat: 6g
- Trans Fat: 0g
- Carbohydrates: 1g
- Fiber: 0g
- Protein: 5g
- Cholesterol: 120mg
See? Not bad for something that tastes this decadent! The protein content is great for an appetizer. Just remember, like I mentioned when talking about the bacon, the final makeup depends on just how generous you are with that yummy caramelized coating when sprinkling them atop your **deviled eggs with bacon topping**!
PrintGourmet Deviled Eggs with Candied Bacon Topping

Make classic deviled eggs special with a sweet and salty candied bacon topping for a gourmet party appetizer.
- Prep Time: 20 min
- Cook Time: 15 min
- Total Time: 35 min
- Yield: 24 halves 1x
- Category: Appetizer
- Method: Boiling and Mixing
- Cuisine: American
- Diet: Low Fat
Ingredients
- 12 large eggs
- 4 slices thick-cut bacon
- 2 tablespoons brown sugar
- 1 teaspoon maple syrup
- 1/2 cup mayonnaise
- 1 tablespoon Dijon mustard
- 1 teaspoon white vinegar
- 1/4 teaspoon salt
- 1/8 teaspoon black pepper
- Pinch of paprika for garnish
Instructions
- Place eggs in a saucepan and cover with cold water. Bring water to a boil, then remove from heat, cover, and let stand for 10 minutes. Drain and cool eggs in ice water. Peel the eggs.
- Slice eggs in half lengthwise and scoop the yolks into a bowl. Set the whites aside.
- Prepare the candied bacon: Lay bacon strips on a baking sheet lined with parchment paper. Mix brown sugar and maple syrup. Brush the mixture evenly over the bacon.
- Bake the bacon at 400°F (200°C) for 12 to 15 minutes, or until crisp and caramelized. Watch closely to prevent burning. Remove and let cool completely on a wire rack before chopping.
- Mash the egg yolks until smooth. Add mayonnaise, Dijon mustard, white vinegar, salt, and pepper. Mix until the filling is creamy.
- Spoon or pipe the yolk mixture back into the egg white halves.
- Top each deviled egg with a small amount of chopped candied bacon.
- Sprinkle a small pinch of paprika over the top of each egg before serving.
Notes
- For the best texture, chop the cooled candied bacon into small pieces before sprinkling it on top.
- You can make the hard-boiled eggs one day ahead to save time.
- If you want a smoother filling, press the mashed yolks through a fine-mesh sieve before mixing in the other ingredients.
Nutrition
- Serving Size: 2 halves
- Calories: 110
- Sugar: 2
- Sodium: 150
- Fat: 9
- Saturated Fat: 3
- Unsaturated Fat: 6
- Trans Fat: 0
- Carbohydrates: 1
- Fiber: 0
- Protein: 5
- Cholesterol: 120